Introduction
Plesk is a paid tool for managing your web space, available for both Windows and Linux operating systems. It provides a suite for the management of your webserver, also including FTP services, mailing, DNS management and, in case of further needs, many extensions with which to expand the functionality of the tool.
This is the first tutorial of a series of 5 episodes dedicated to explaining how to host a website on your Cloud server with Plesk. In this first guide you will discover all the main steps to install the Plesk hosting management panel on your CentOS 7 server.
Pre-requisites
Plesk needs to be installed on a "clean" Linux installation. This is required due to some conflicts with the Apache application, which acts on similar services.
Note: RedHat has stated that the latest CentOS 8 release will no longer be updated and supported as of 12/31/2021. Among the alternatives available to continue to rely on a stable Linux distribution, AlmaLinux is recommended. It is an open source fork with several improvements, which maintains complete compatibility with Red Hat Enterprise Linux, and receives continuous support from the CloudLinux community.
Since there is still support for the CentOS 7 release based on Linux 3.10 kernel in this guide you will learn how to install Plesk on CentOS 7. If you prefer to install Plesk on a Cloud Server based on the AlmaLinux distribution, alternatively, follow our guide ‘How to install Plesk on AlmaLinux 8’.
Installation of Plesk with the template
With Aruba Cloud, the Plesk panel can be installed automatically on your Cloud VPS, by choosing a template where it is pre-installed during the first configuration of your Cloud VPS.
If you prefer to manually install Plesk, go directly to the methods illustrated in the next paragraph.
First of all, log into your Aruba Cloud account and create a new server.
.png.aspx;)
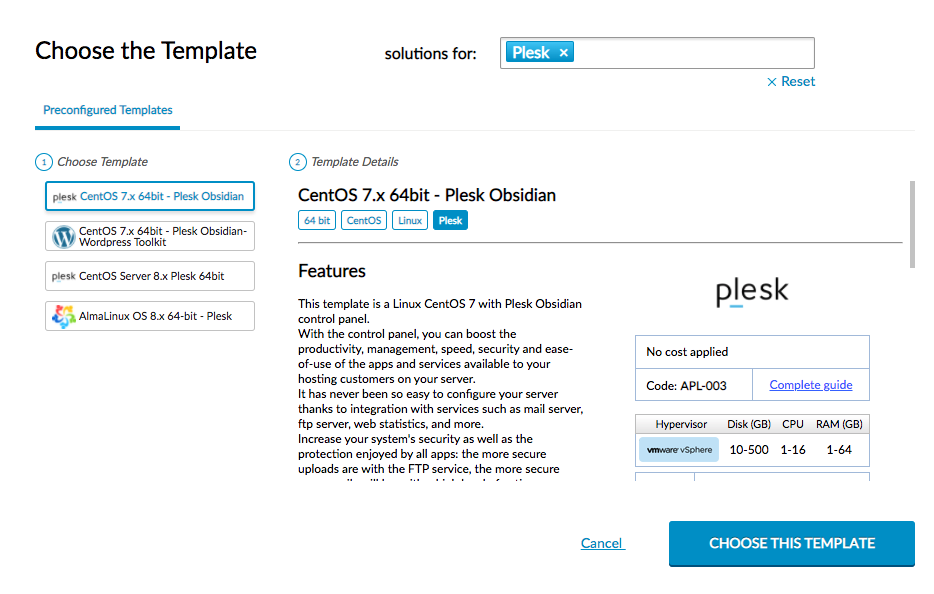
Select the type of server and the hypervisor to be used and click on the button to choose a template.
Select the CentOS 7 template with the Plesk panel.
Complete the configuration of your server and then click on the "Create new server" button to start creating your server.
Once the server is created, complete the Plesk panel configuration by connecting to the server's ip address and log into the Plesk interface with the credentials used for the server's root account.
Manual installation of Plesk
Plesk offers several installation methods and a free trial version to try the product before purchasing it.
One-Click installation
One of the first methods of installing Plesk is via a command sent from the Linux terminal. The procedure will take 30 minutes or 1 hour to complete and you will be able to enjoy a complete installation.
$ sh <(curl https://autoinstall.plesk.com/one-click-installer || wget -O - https://autoinstall.plesk.com/one-click-installer)
Installation via Web Browser
In the case of a reachable IP address, simply open port 8447 to proceed with the installation of Plesk from your web browser.
To do so, follow the these steps:
- Download the installer at this link:
$ wget https://autoinstall.plesk.com/plesk-installer
- Allow the execution of the installer you just downloaded to run via:
$ chmod +x plesk-installer
- Start the installer with the command:
$./plesk-installer --web-interface
- Log in to the Plesk installer through port 8447 using your IP address. To do so, use:
https://tuoindirizzoIP:8447
- Log in to the web interface with the root credentials
- Click on "Install or update the product"
- Choose a version of Plesk to install
- Choose an installation method and confirm the procedure. The progress of the procedure can be checked from the web interface.
Installation via CLI
To install Plesk via the CLI, follow these steps:
- Download the installer at this link:
$ wget https://autoinstall.plesk.com/plesk-installer
- Allow the execution of the installer you just downloaded to run via:
$ chmod +x plesk-installer
- Start the installer with the command:
$./plesk-installer
$./plesk-installer --all-versions
- Confirm the different options by clicking on "Next" in the procedure and wait for the procedure to run
Installation via the ISO image
There are several Ubuntu and CentOS ISO image files that offer an automatic Plesk installation.
Installation via Web installer
Plesk can be installed via a web address.
To proceed:
- Connect to the web address of the Plesk Installer.
- Enter your IP address, root credentials or a private key
- Accept the installation conditions and start the procedure
- Log in for the first time * to the PLESK platform ( * note: you may see a security warning the first time when logging in to the platform. Ignore it when logging in for the first time.)
Post-Installation Configuration
Once the installation procedure is completed, add some information and create the first Plesk configuration. To connect to the settings, use the link
https://IP_ADDRESS:8443
Log in using your root credentials, then, in the configuration page, specify the following information:
- Contact information of the web server administrator
- New password for the administrator. After this configuration, the credentials will be: admin + new password
- Purchase or enter the license key for Plesk. A trial version is also available initially
- Accept the user agreement.
If your Cloud Server is already on Aruba, you can easily purchase a Plesk license within your Aruba Cloud control panel simply by going to the ‘Plesk Licenses’ section and clicking on ‘Add new Plesk license’.

There are three different types of licenses to choose from, depending on the number of websites you need to manage:
- Web Admin Edition: for managing up to 10 web domains in hosting;
- Web Pro Edition: for managing up to 30 web domains in hosting;
- Web Host Edition: for managing an unlimited number of domains.
The license created will be listed on the ‘Plesk Licenses’ section with the status ‘In Creation’ and will then switch to ‘Active’.
Keep in mind that the licenses purchased through Aruba's cloud panel have better prices than the Plesk marketplace, but they can only be used within Aruba's cloud infrastructure.
The fee is monthly and includes all updates and support. The control panel is provided in Italian and has as an option preinstalled in English. From the same panel, some additional modules can be bought, such as Power Pack that includes Plesk DNSSEC extensions, Kaspersky Antivirus for 5 mailboxes and Docker Remote Node Management.
Conclusions
You now have a full installation of Plesk and you can connect to its interface to manage your web server services.
In the next guide of this series, you will learn how to create and configure your domain on Plesk.