NGINX is a high performance web server used in particular to manage static files and as a reverse proxy. hanks to its versatility NGINX can be used in any situation. In this guide you will see how to install it on your server and how to configure it for two or more domains.
First, connect to your server via an SSH connection. If you haven’t done so yet, following our guide is recommended to connect securely with SSH. In case of a local server, go to the next point and open the terminal of your server.
Installation of NGINX
Update the distribution repositories to be sure to download the latest version of NGINX:
Run the following command to install the NGINX package:
Once the installation is completed, launch the service and install it on the system:
$ sudo systemctl start nginx

$ sudo systemctl enable nginx
Firewall configuration
In case of a firewall on your system, set it to enable HTTP traffic and HTTPS traffic to your machine.
When using the UFW firewall, pre-installed profiles are provided for NGINX. So let's see how to enable them.
To check the available profiles installed on the UFW firewall, run this command:
A list similar to the following will be shown on the screen:
Available applications:

  Dovecot IMAP

  Dovecot POP3

  Dovecot Secure IMAP

  Dovecot Secure POP3

  Nginx Full

  Nginx HTTP

  Nginx HTTPS

  OpenSSH

  Postfix

  Postfix SMTPS

  Postfix Submission
To allow HTTP (Port 80) and HTTPS (Port 443) traffic, use the "Nginx Full" profile.
Check your profile information as shown below :
$ sudo ufw app info "Nginx Full"
The description of the on-screen profile will appear:
Profile: Nginx Full

Title: Web Server (Nginx, HTTP + HTTPS)

Description: Small, but very powerful and efficient web server
                Ports:

  80,443/tcp
After checking the profile you will be ready to enable it:
$ sudo ufw allow in "Nginx Full"
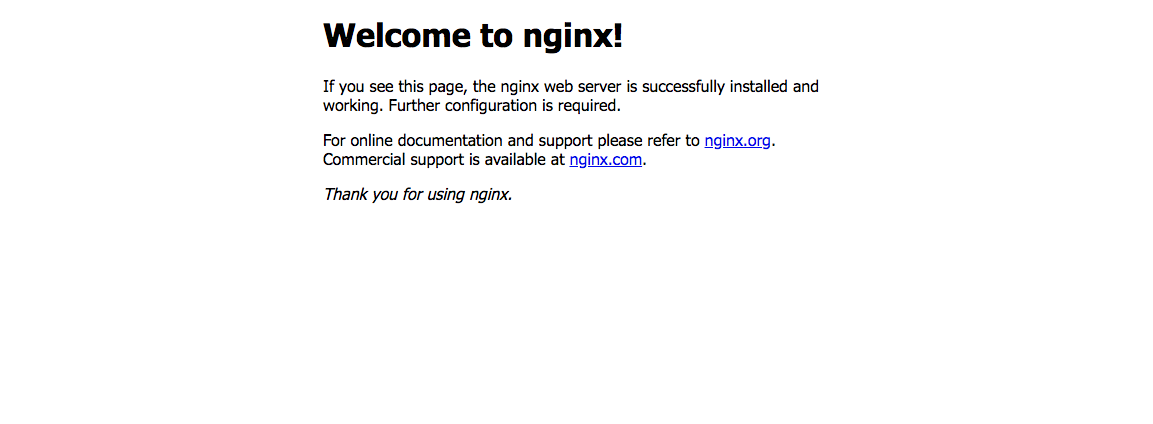
At this point, the configuration of NGINX and the firewall is completed. Test the web server by visiting the address http: // <SERVER.IP> or in case of a local server http: // localhost . If the procedure was carried out correctly, the default NGINX screen will be shown.
Configuring two domains/websites correctly:
Below it is shown how to configure two virtual hosts (called "server blocks") to have two completely separate web spaces. In this example, we will use two fictitious domains:
-
www.yourdomain.com
-
www.yourdomain2.com
Both A records have to point to the public IP address of your server .
Start by creating all the necessary folders to hold the public files of your websites:
$ sudo mkdir /var/www

$ sudo mkdir /var/www/yourdomain.com

$ sudo mkdir /var/www/yourdomain.com/htdocs

$ sudo mkdir /var/www/yourdomain.com/logs
                $ sudo mkdir /var/www/yourdomain2.com

$ sudo mkdir /var/www/yourdomain2.com/htdocs

$ sudo mkdir /var/www/yourdomain2.com/logs
As temporary content, copy the default NGINX page to the htdocs folders of each domain:
$ sudo cp /usr/share/nginx/html/* /var/www/yourdomain.com/htdocs/

$ sudo cp /usr/share/nginx/html/* /var/www/yourdomain2.com/htdocs/
Now, proceed to the actual configuration of NGINX. NGINX usually reads all the .conf files in the /etc/nginx/conf.d/ directory, go on by creating two files (one per domain), naming them:
-
yourdomain_com.conf
-
yourdomain2_com.conf
Use your favorite text editor to write the following configuration in yourdomain_com.conf file:
server {


        listen 80;


        server_name yourdomain.com *.yourdomain.com;


        root /var/www/yourdomain.com/htdocs;


        access_log /var/www/yourdomain.com/logs/access.log main;

        error_log /var/www/yourdomain.com/logs/error.log warn;

}
Obviously you must also use a similar configuration for yourdomain2_com.conf:
server {


        listen 80;


        server_name yourdomain2.com *.yourdomain2.com;


        root /var/www/yourdomain2.com/htdocs;


        access_log /var/www/yourdomain2.com/logs/access.log main;

        error_log /var/www/yourdomain2.com/logs/error.log warn;

}
In addition to the setting of the root folder for the files of the virtual domain, there are also settings to configure the paths of the log files (both access and error) in order to have one log per domain. Normally, NGINX saves all the logs in the /var/log/nginx/ directory but in case of a multiple domain, the result may be confusing.
Logs can become too large over time if their path is changed., It is, therefore, necessary to set a rotation of the files in order to eliminate the oldest contents. To do so, use the logrotate software.
To add new log files in the logrotate settings edit the /etc/etc/logrotate.d/nginx file:
/var/log/nginx/*log {

    create 0644 nginx nginx

    daily

    rotate 10

    missingok

    notifempty

    compress

    sharedscripts

    postrotate

        /bin/kill -USR1 `cat /run/nginx.pid 2>/dev/null` 2>/dev/null || true

    endscript

}
As you can see, there is already a configuration for the NGINX files in /var /log/nginx. Proceed by modifying the first part of the file as follows:
/var/log/nginx/*log

/var/www/*/logs/* {

    ...

}
Once this change is made, logrotate will manage all the files in the logs folders of both /var/www/mydomain.it and /var/www/yourdomain.com (and any others), without having to worry about any other domain that might be added in the future.
Once completed, restart the service to apply the changes:
$ sudo systemctl reload nginx