The SSH service is the main access point to your Cloud Server and, at the same time, one of the most exposed services to attacks. This guide will help you improve the security of the service thanks to different tricks and techniques.
Changing listening port
The default port for listening to the SSH connection is 22: changing this setting will allow to cloud the service and increase the security of the connection .
To avoid interference with other existing services on the machine, it is good practice to check which ports are currently in use, using the netstat command:
$ netstat -n -l

Active Internet connections (only servers)

Proto Recv-Q Send-Q Local Address           Foreign Address State
tcp        0 0 127.0.0.1:3306          0.0.0.0:* LISTEN
tcp        0 0 127.0.0.53:53           0.0.0.0:* LISTEN
tcp        0 0 0.0.0.0:22              0.0.0.0:* LISTEN
tcp6       0 0 :::80                   :::* LISTEN
tcp6       0 0 :::22                   :::* LISTEN
udp        0 0 127.0.0.53:53           0.0.0.0:*
Through the -l parameter passed to netstat, force it to print all the connections that are in the LISTEN state. In this example the following ports are used:
-
3306 MySQL service
-
22 SSH
-
80 Apache2 / HTTP
-
53 DNS
To change ports, simply edit the configuration file in / etc / ssh / sshd_config, uncommenting the Port directive:
Then set a new value, possibly high, to prevent it from being intercepted by any automatic port scanning software (for example 2200, 5574, 1022):
To apply the change, upload the service via:
$ sudo service sshd reload
. Keep the connection alive by using reload in such a way as to correct any error and check any new access with another SSH client
Once the change is applied, connect to your server specifying the new port. For example, if you are using the SSH client from the command line:
$ ssh root@<SERVER.IP> -p 5574
Use of keys for authentication
Widely used for its security, access through RSA keys is an alternative to password-based login. In this type of authentication, the client generates a private key and the related public key that is installed on the server machine to unambiguously authenticate the client. .
To install the public key, the client should first generate the key pair using the ssh-keygen command:
$ ssh-keygen
Generating public/private rsa key pair.
Enter file where to save the key (/root/.ssh/id_rsa):
Enter passphrase (empty for no passphrase):
Enter same passphrase again:
Your identification has been saved in /root/.ssh/id_rsa.
Your public key has been saved in /root/.ssh/id_rsa.pub.
Before proceeding with the generation, ssh-keygen asks for an optional passphrase that can be used for authentication. In this example to facilitate access the following file has been left empty.
Once finished, the software will save two files in the designated :
-
id_rsa: the client's private key, not to be shared with anyone.
-
id_rsa.pub: the shareable public key .
To prepare the server environment, create a file named authorized_keys in the .ssh folder inside the user folder that you will use for the log in:
$ sudo mkdir ~/.ssh
$ sudo touch ~/.ssh/authorized_keys
$ sudo chmod 600 ~/.ssh/authorized_keys
Make sure that the file has the permissions as above .
Then proceed by pasting the public key previously prepared by the client machine:
$ sudo nano ~/.ssh/authorized_keys
ssh-rsa AAAAB3NzaC1yc2EAAAADAQABAAABAQCoTzd9RnqT0yioQG1klsLEK/VG9myo7CQ47aRXu7hnPit6Lgw5kAjC7vzNWYLTy2oIlsrVI7R/tvWmVNISGkWDp9U3fONbSLp+vgBKDzRUVAIqP/AIJ2THanyZxj2b8XU/4s2uzGoTLSR3ViX0JU6zTc+IkaBp1o3W3OolvO15E10/VYJCKN3TkxPsSSGE3QReXnCcnIZYAnrPf9f1DPP1Lo+VUCIzZ7IzcZajAWQ53hC71mTYNHkUgIlWxpRyEhnsRfmqEfUSFbTwpNEarv7vGlK686C4xVxlVfKbqlNa3/g2Vrae4ArVBM958JPZ6aa+7KDZfH5TDgPPtlFCIGkd root@testclient
Save the file and reload the SSH service:
$ sudo service sshd reload
At this point accessing the server without being required any password should be possible:
If everything works correctly, disable the password access from the server machine bymodifying the file / etc / ssh / sshd_config, with the following parameters:
ChallengeResponseAuthentication no
    PasswordAuthentication no
Remember that you can add other public keys by simply saving them at the end of the file ~ / .ssh / authorized_keys file in the server machine.
Limiting availability times of the service
A strategy to reduce unwanted access and brute-force attacks is to reduce the availability times of the SSH service. If you are sure that you do not need to connect to the server at certain times (for example from 11.00 pm to 08.00 am of the following day), set an automatic schedule to block the connection port.
To do so, use the default firewall called iptables, but, before proceeding with the configuration, remember that iptables, by its nature, does not save the configuration entered.
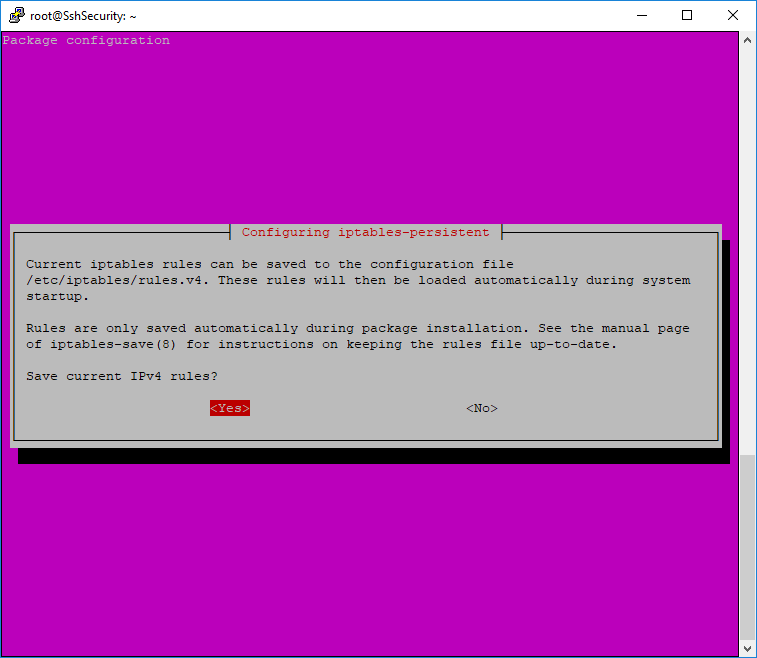
To save and load the configuration faster, use the iptables-persistent package, which reloads the configuration saved at system startup.
Then continue installing the package:
$ sudo apt-get install iptables-persistent
After completing its installation, enter a "chain" to block the SSH service:
$ sudo iptables -N chain-ssh
$ sudo iptables -A INPUT -p tcp --dport 22 -j chain-ssh
In this way, all connections destined for port 22 (if your SSH service uses another port, change this value) will pass through the newly created "chain-ssh" chain.
Save the current configuration (which will be loaded by iptables-persistent) with the command:
$ sudo iptables-save > /etc/iptables/rules.v4
Then create a time schedule for entering and deleting the rule on the chain by modifying the crontab as follows:
$ sudo crontab -e

# m h  dom mon dow   command
0 23   * * *   iptables -A chain-ssh -j DROP
0 8    * * *   iptables -F chain-ssh
As you can see, with the first operation a DROP rule of the connections at 11.00 pm is added, while the second operation empties the chain at 08.00 am to restore the service.
Save the file to apply the changes.