Apache is the most popular web server, capable of operating on a large number of operating systems, including UNIX / Linux, Microsoft Windows and OpenVMS.
NGINX is a high performance web server used in particular for static files and as a reverse proxy, but thanks to its versatility it can be used in any type of situation.
In this tutorial we will discover how to employ the strengths of both web servers by making them cooperate in perfect harmony. NGINX will be used as a frontend web server that will handle client requests and send them to Apache, which will be our backend web server and return the requested response. This procedure allows to obtain various benefits from performance to safety.
First, connect to your server via an SSH connection. If you have not done so yet, following our guide is recommended to connect securely with SSH. In case of a local server go to the next step and open the terminal of your server.
Apache installation and configuration
Update the repositories of the Ubuntu Linux distribution, to make sure you download the latest version of Apache:
Then, start the installation:
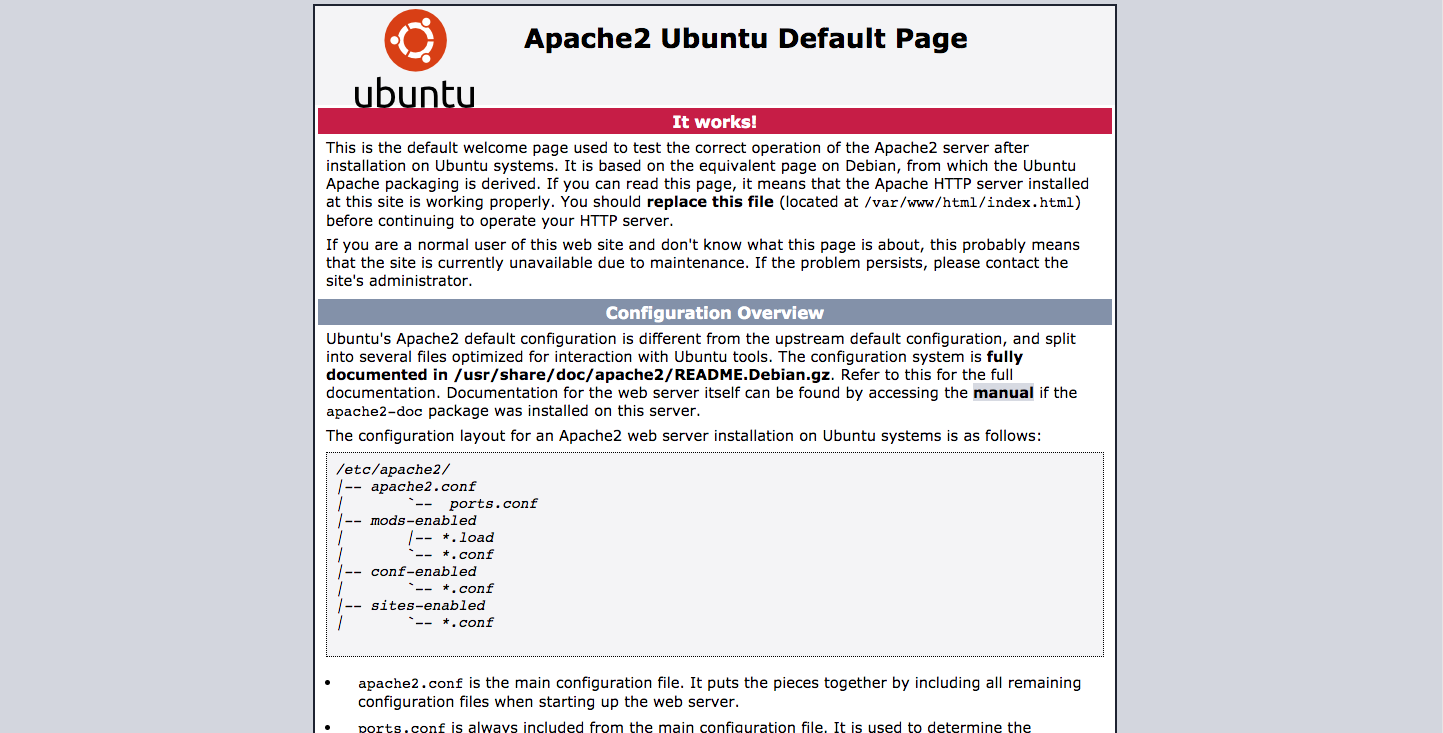
$ sudo apt install apache2
At this point, the installation of Apache is completed and it is possible to continue with its configuration.
Change the port used by default by Apache into 8080. To do this, open the configuration file as shown:
$ sudo nano /etc/apache2/ports.conf
Find the Listen 80 line and change it into Listen 8080, then save and close the file.
Restart the Apache service:
$ sudo systemctl restart apache2
To check the Apache port change visit http: // <SERVER.IP>: 8080 / or in case of a local server http://localhost: 8080. If the procedure has been carried out correctly, your website will be displayed.
Installation and Configuration of NGINX
Continue by starting the installation of NGINX:
$ sudo apt-get install nginx
Once the installation is completed, open the NGINX configuration file as shown:
$ sudo nano /etc/nginx/nginx.conf
Then, edit or add the server block as shown here to use NGINX as an Apache proxy server:
server {

listen 80;
                root /var/www/html;

index index.php index.html index.htm;

server_name SERVER_IP;
                location / {

proxy_pass http://localhost:8090;

proxy_set_header Host $http_host;

proxy_set_header X-Real-IP $remote_addr;

proxy_set_header X-Forwarded-For $proxy_add_x_forwarded_for;

proxy_set_header X-Forwarded-Proto $scheme;

}

}
Save and close the file.
Then, restart the NGINX service:
$ sudo systemctl restart nginx
Firewall configuration
In case of a firewall on your system, set it to enable HTTP traffic and HTTPS traffic to your machine.
When using UFW firewall, you will have pre-installed profiles for NGINX. So let's see how to enable them.
To check the available profiles installed in the UFW firewall, run this command:
A list similar to this will be shown on the screen:
Available applications:

  Dovecot IMAP

  Dovecot POP3

  Dovecot Secure IMAP

  Dovecot Secure POP3

  Nginx Full

  Nginx HTTP

  Nginx HTTPS

  OpenSSH

  Postfix

  Postfix SMTPS

  Postfix Submission
To allow HTTP (Port 80) and HTTPS (Port 443) traffic, use the "Nginx Full" profile.
It is possible to check your profile information like this:
$ sudo ufw app info "Nginx Full"
The description of the profile will appear on-screen:
Profile: Nginx Full

Title: Web Server (Nginx, HTTP + HTTPS)

Description: Small, but very powerful and efficient web server
                Ports:

  80,443/tcp
After checking the profile it will be possible to enable it:
$ sudo ufw allow in "Nginx Full"
Finally, proceed with testing the two web servers by visiting the address http: // <SERVER.IP> or in case of a local server http: // localhost .
If the procedure was correctly performed, your website will be shown with the default Apache screen. This means that the reverse proxy works and has been configured correctly.