Lighttpd is an open source web server known for its excellent performance on many environments. Thanks to the low hardware requirements, it manages high data traffic even on poorly performing systems.
This tutorial provides a step by step explanation of how to install and configure Lighttpd on Ubuntu 18.04 and on how to maximize its performance by activating data compression, configuring a virtual host and improving keep-alive parameters.
First, connect to your server via an SSH connection. If you haven’t done so yet, following our guide is recommended to connect securely with SSH. In case of a local server, go to the next step and open the terminal of your server.
Installation of Lighttpd
First, update the distribution repositories, to be sure you download the latest version of Lighttpd:
Then, proceed with the installation by running the following command:
$ sudo apt install lighttpd
Once the installation is completed, the Lighttpd service is ready to be enabled and started, but first it may be necessary to enable Lighttpd for listening also on ipv4 addresses.
Open the configuration file in /etc/lighttpd/lighttpd.conf using your favorite text editor (vim / nano).
A commented section, which configures the use of the ports will be found inside the file :
##

## bind to a specific IP

##

server.bind = "localhost"
Then, proceed by editing it as follows:
##

## bind to a specific IP

##

#

server.bind = "localhost"

$SERVER["socket"] == "0.0.0.0" { }
At this point, everything is ready to start the service:
$ sudo systemctl start lighttpd
The service can also be set to start automatically when the system is started:
$ sudo systemctl enable lighttpd
Firewall configuration
In case of a firewall on your system, set it up to enable HTTP traffic and HTTPS traffic to your machine.
To allow HTTP (Port 80) and HTTPS (Port 443) traffic, use the following commands:
$ sudo ufw allow 80

$ sudo ufw allow 443
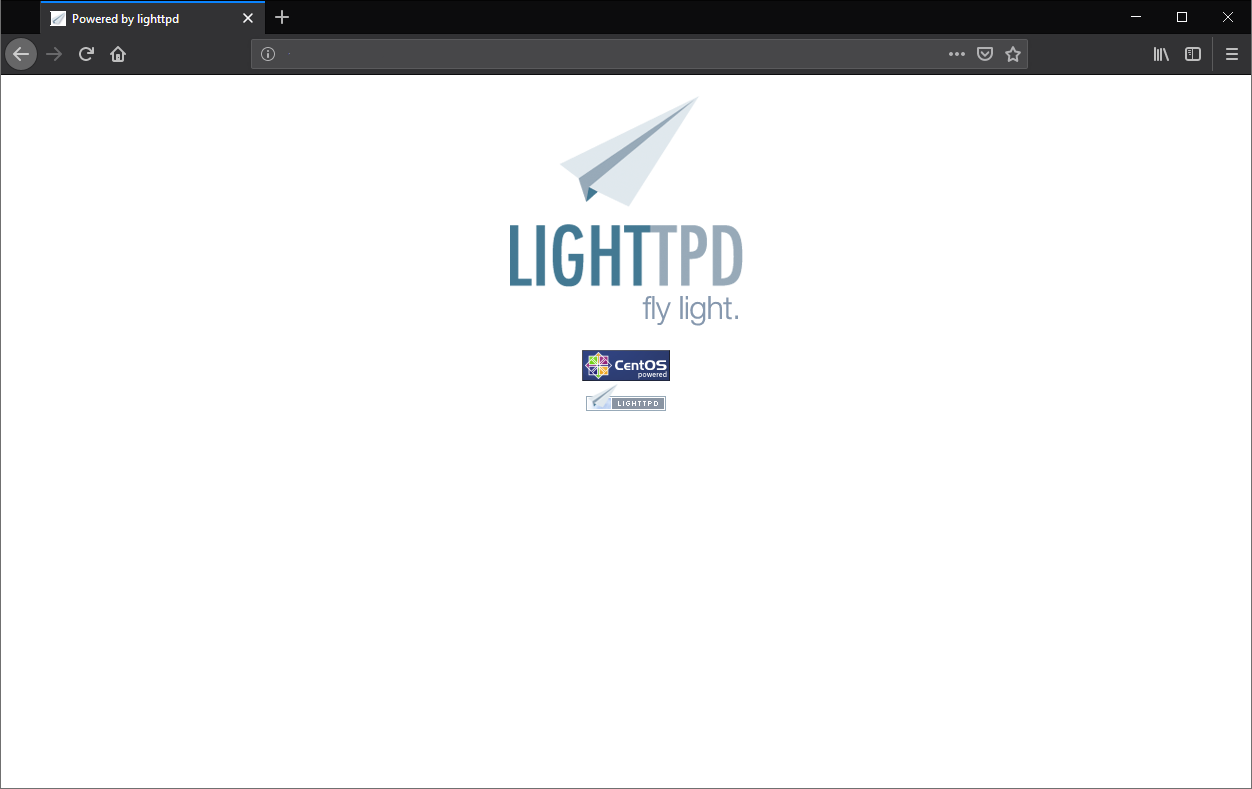
Once all the steps are completed, test the operation of the web server by visiting the address http: // <IP.DEL.SERVER> or in the case of a local server http://localhost . If the procedure was carried out correctly, the default Lighttpd screen will be shown.
Document Root
To modify the visible contents on the web server, just change the contents of the / var / www / lighttpd folder, as it is also indicated in the configuration file /var/etc/lighttpd.conf:
var.server_root = "/var/www"
                ##

## Document root

##

server.document-root = server_root + "/lighttpd"
For further information on the configuration file, all the options available can be found on the official documents: https://redmine.lighttpd.net/projects/lighttpd/wiki/Docs_ConfigurationOptions .
Activation of data compression
One of the first optimizations, which can be activated on Lighttpd, is data compression before sending. This will reduce the bandwidth consumption of your web server, as well as speed up data transmission.
To activate the compression, open the file in the path /etc/lighttpd/modules.conf.
You will find the section dedicated to the mod_compress module:
##

## mod_compress

##

#include "conf.d/compress.conf"
Just uncomment the inclusion line to read the module configuration file, and then activate it:
##

## mod_compress

##

include "conf.d/compress.conf"
Before operating the module, create the folder where Lighttpd normally stores the compressed files. so not to regenerate them later:
$ sudo mkdir /var/cache/lighttpd

$ sudo mkdir /var/cache/lighttpd/compress
Now change the owner of the folder to give permissions to Lighttpd:
$ sudo chown lighttpd:lighttpd /var/cache/lighttpd/compress/
At this point, restart the service:
$ sudo systemctl restart lighttpd
Installation of a virtual host
Below it is explained how to configure a virtual host using as example a fantasy domain (yourdomain.com). First, prepare the necessary directories to host the website:
mkdir -p /var/www/vhosts/yourdomain.com/htdocs

chown lighttpd:lighttpd /var/www/vhosts -R
With the commands shown above, the entire directory tree can be created. Now, set the Lighttpd user as the owner of the folders.
Normally Lighttpd is not enabled to read virtual host configurations. So, continue the enabling by modifying the section indicated below in the /etc/lighttpd/lighttpd.conf file:
#######################################################################

##

## custom includes like vhosts.

##

#include "conf.d/config.conf"

include "/etc/lighttpd/vhosts.d/*.conf" #enable the virtual host reading

##

######################################################################
Now, a specific file for your domain in /etc/lighttpd/vhosts.d/yourdomain_en.conf can be created:
$HTTP["host"] == "yourdomain.com" {

  var.server_name = "yourdomain.com"
                  server.name = server_name
                  server.document-root = vhosts_dir + "/" + server_name + "/htdocs"

  ##

  ## use a separate access log file

  ## At the moment, you cannot  have different error log files.

  ##

  accesslog.filename          = log_root + "/" + server_name + "/access.log"

}
Once the file is saved, restart Lighttpd to apply all the changes:
$ sudo systemctl restart lighttpd
Keep-Alive optimization
Improving the http keep-alive parameters can positively impact traffic management and, therefore, can be useful for a further optimization of Lighttpd's performance,The default parameters of the server are the following (present in the file /etc/lighttpd/lighttpd.conf):
server.max-keep-alive-idle = 5

server.max-keep-alive-requests = 16

server.max-read-idle = 60

server.max-fds = 2048

server.max-write-idle = 360
The above parameters will keep 16 connections active for 5 seconds, even if they may no longer be used by clients. This could lead to a depletion of the sockets open at the same time (indicated as the maximum value in server.max-fds). In case of high traffic, it may be necessary to restrict these limits:
server.max-keep-alive-idle = 4

server.max-keep-alive-requests = 4

server.max-read-idle = 30

server.max-write-idle = 120
By restricting the time limit and the number of requests, the web server will close the connections more frequently and allow management of higher traffic.
Once the changes are applied, remember to restart the service via:
$ sudo systemctl restart lighttpd