Introduction
Discourse is a free and open source software for developing an online community based on online discussion forums and chat rooms. The strength of this platform, increasingly used by gamers, lies in the tools available for the creation of content accessible by the community.
By using the potential of Discourse, it is possible to create an environment where all users can communicate via voice, texts, or videos inside the chat rooms, divided into different thematic areas. Private rooms where only a few authorized members can access can also be created.
In this tutorial you will see how to install Discourse software on your Cloud Server with Ubuntu 18.04, using a Docker container.
To get started, connect to your server via an SSH connection. If you haven’t done so yet, following our guide is recommended to to connect securely with the SSH protocol. In case of a local server, go to the next step and open the terminal of your server.
Installing Git and Docker
In this tutorial Discourse will not be installed directly on your server, but it will be run inside a Container Docker, so that it will run in an isolated and optimized environment.
Docker doesn’t originate in Ubuntu. Therefore, it has to be installed. The same goes for Git, used to download the Discourse image directly from the official repository and to search for Discourse updates before it is launched (at your discretion).
Now, proceed with the installation of both by running the following commands:
sudo apt install git apt-transport-https ca-certificates curl software-properties-common
curl -fsSL https://download.docker.com/linux/ubuntu/gpg | sudo apt-key add -
sudo add-apt-repository "deb [arch=amd64] https://download.docker.com/linux/ubuntu xenial stable"
sudo apt update
sudo apt install docker-ce
The installation of both tools is completed. Unlike Git, which is used as soon as you call the command, Docker works in the background.
To verify that Docker is running, type:
sudo systemctl status docker
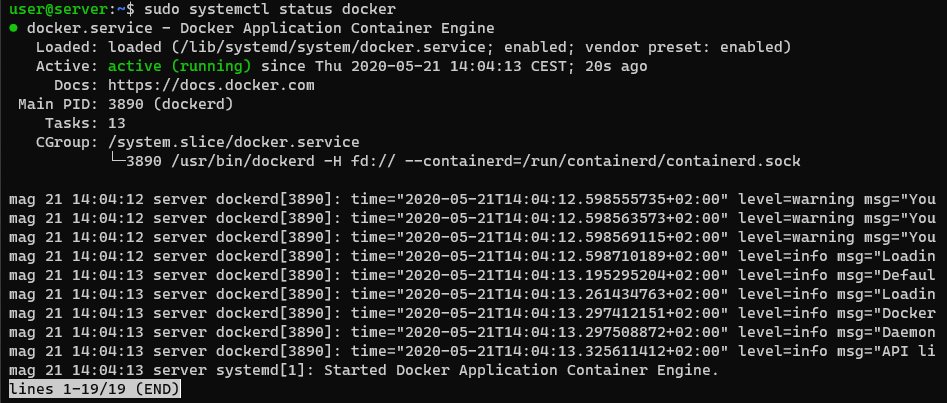
If Docker is running, as in the screenshot above, follow the next step of the tutorial. If it is not, enable it using the command:
sudo systemctl start docker
Installing Discourse
Precisely because Discourse is not installed directly on your system, an "image file" containing the configuration files for the creation of the Container Docker for Discourse is needed.
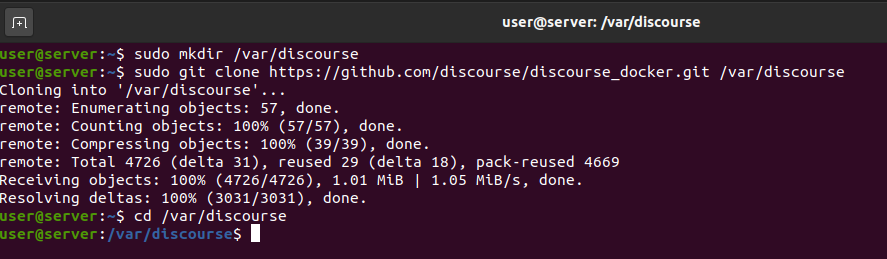
Then, create a folder in/var/discourse and download the image file directly from the official repository:
sudo mkdir /var/discourse
sudo git clone https://github.com/discourse/discourse_docker.git /var/discourse
cd /var/discourse
After downloading the image, start the setup script:
sudo ./discourse-setup
You will be requested to specify some parameters:
- Hostname for your Discourse: address to be used to connect to your Discourse
- Email address of the administrator
- SMTP address of your email manager
- SMTP port of your email manager
- Email address to use for the administrator account
- Warning: the above-mentioned parameters must be valid for this email address. For example, In case Gmail SMTP parameters have been specified, no email address whose domain is not managed by Google can be entered.
- Password for the Discourse account
- Specify whether or not to encrypt the emails of the administrator account for greater security.
After entering this information, an automatic download and configuration process, which may take several minutes, depending on the server hardware and the available connection, will begin.
At the end of the script, the Discourse configuration phase is almost completed. Verify that the created container is running by typing:
sudo docker container ls -a

Registering your Discourse account
Now, connect with your browser to the address shown in "Hostname for your Discourse" for your Discourse community.
If everything was configured correctly, a Discourse welcome page for registering your administrator account, will be displayed.
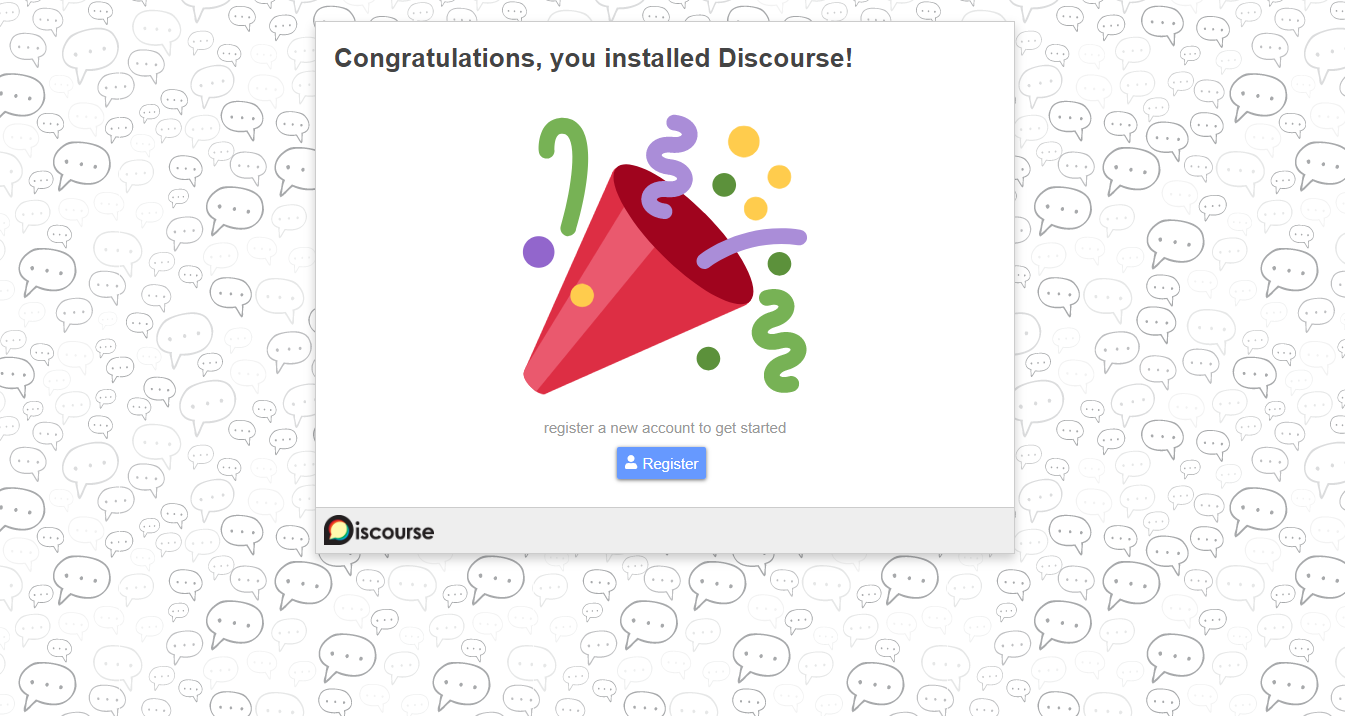
After clicking on "Register" a form to fill out with the following fields will be displayed:
- Email: enter the same email address previously used as administrator in the Discourse setup.
- Username: enter a username of your choice
- Password: enter a password of your choice.
Then, click on 'Register' at the end of the form.
Now, check your inbox. An email containing a link to verify your email address has been sent to you. If no activation email is received, click on 'Resend Activation Email' to request another email.
After validating the email address, a wizard for the configuration of other Discourse settings will be launched.
NB This operation does not need to be completed immediately. In fact, by clicking on 'Maybe Later', it can be postponed to configure the different parameters of the settings later.
Regardless of whether you complete the configuration immediately or decide to do it later, as soon as Discourse is launched, Topics, including one called "READ ME FIRST: Admin Quick Start Guide" containing tricks and tips for the configuration and customization of Discourse, will be shown.
.png.aspx;)
Conclusions
Discourse is now functioning properly on the server and your users are ready to register to your community.
Whenever you want to start it, just type:
cd /var/discourse
git pull
./launcher rebuild app
The second instruction searches for updates via Git, a procedure that is always recommend, although not essential for the launch of Discourse.
This operation can still be performed through the graphical interface by visiting
http://discourse.your_domain.com/admin/upgrade (replace 'your_domain' with your domain) and clicking on "Upgrade to the Latest Version".
.png.aspx;)