Introduction
Apache Maven is an open source software used by developers to manage the compilation, documentation and reports of a project. Maven is particularly suitable for Java projects, but its use is not exclusively limited to this language: C, Ruby, Scala and other languages are also supported.
Apache Maven uses an XML file where the dependencies between the project and the respective libraries are declared: through this file, in fact, Maven can automatically download from the various repositories all the libraries updated to the version indicated in the file itself. In this way, a project can be moved to another server or development environment, without worrying that all its dependencies are well installed and configured.
This tutorial shows how to download and install Apache Maven on a Linux Ubuntu 18.04 server.
To get started, connect to your server via an SSH connection. If you haven’t done so yet, following this guide is recommended to connect securely with the SSH protocol. In case of a local server, go to the next step and open the terminal of your server.
Installing OpenJDK
First, install OpenJDK to make Apache Maven work. Update dependencies with the following command:
sudo apt-get update -y && sudo apt-get upgrade -y
Furthermore, to use Maven from version 3.3 onwards, it is necessary to install at least version 1.7 of the Java Development Kit (JDK). In case JDK is already installed on your system, skip this step.
This step is very simple and can be done using the following command:
sudo apt install default-jdk -y
To verify the installation of the JDK check the version by typing:
java -version
If successfully installed, the final result will be similar to the one shown in the figure below.

Installing Apache Maven
After installing JDK, download Apache Maven.
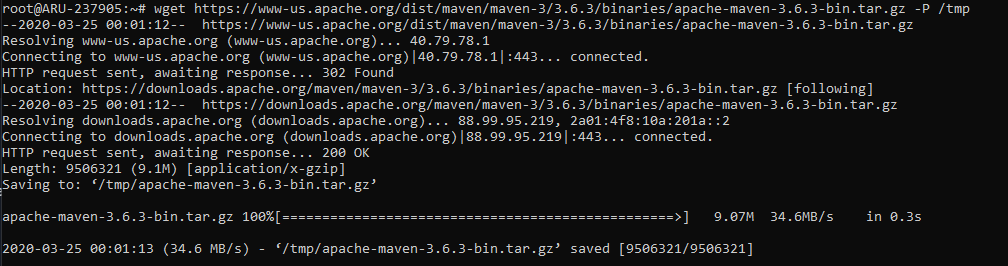
At present, the latest version is 3.6.3, the latest available version can be checked on the official website and downloaded manually. Then, download the version chosen using the wget command, or, if you prefer to do it manually, directly in the / tmp folder.
sudo apt-get install wget -y
cd /tmp
wget https://apache.panu.it/maven/maven-3/3.6.3/binaries/apache-maven-3.6.3-bin.tar.gz
N.B. The link refers to version 3.6.3. To download a different version, visit the Apache Maven Download page .
After the download, extract the downloaded archive. Then type:
sudo tar -xvzf apache-maven-3.6.3-bin.tar.gz
Copy the extracted folder to the / opt directory.
cp -r apache-maven-3.6.3 /opt/maven
Setting of environment variables
In this step, set the environment variables necessary for the operation of Maven. This procedure will be done by running a script.
Then, create a file called "maven.sh" using the command:
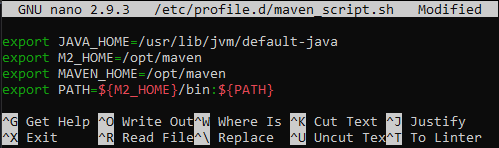
sudo nano /etc/profile.d/maven.sh
In the text editor opened, paste the following code:
export JAVA_HOME=/usr/lib/jvm/default-java
export M2_HOME=/opt/maven
export MAVEN_HOME=/opt/maven
export PATH=${M2_HOME}/bin:${PATH}
Save and exit (CTRL + X - Y - Enter). Now, make the script executable and to do so, use the chmod command:
chmod 755 /etc/profile.d/maven.sh
At this point, just load the environment variables, by typing:
source /etc/profile.d/maven.sh
Verify that the procedure was successful by checking the version of Maven installed. Then, type:
maven -version
If the setting is correct, the result will be similar to the one shown in the figure below.

At this point, Apache Maven has been installed on your Ubuntu server and is ready to be used for your projects.