Composer is a tool that allows you to better organize the dependencies used by your projects developed in PHP. In addition to easily installing third-party libraries, Composer has several commands to check and install any updates, remove unnecessary dependencies, and many more.
In this tutorial you will learn how to create a new project via Composer, install the monolog library as a dependency, and verify its correct functioning on your CentOS 8 server.
To start, connect to your server via an SSH connection. If you haven't done it yet, following our guide is recommendedto connect securely with the SSH protocol . In case of a local server, go to the next step and open the terminal of your server.
Installing Apache with PHP support
In order to use PHP and Composer, first, install Apache with PHP support on your server.
Proceed by updating the system packages via:
yum install update -y
Then, install and start Apache via the commands:
yum install httpd -y

systemctl start httpd.service
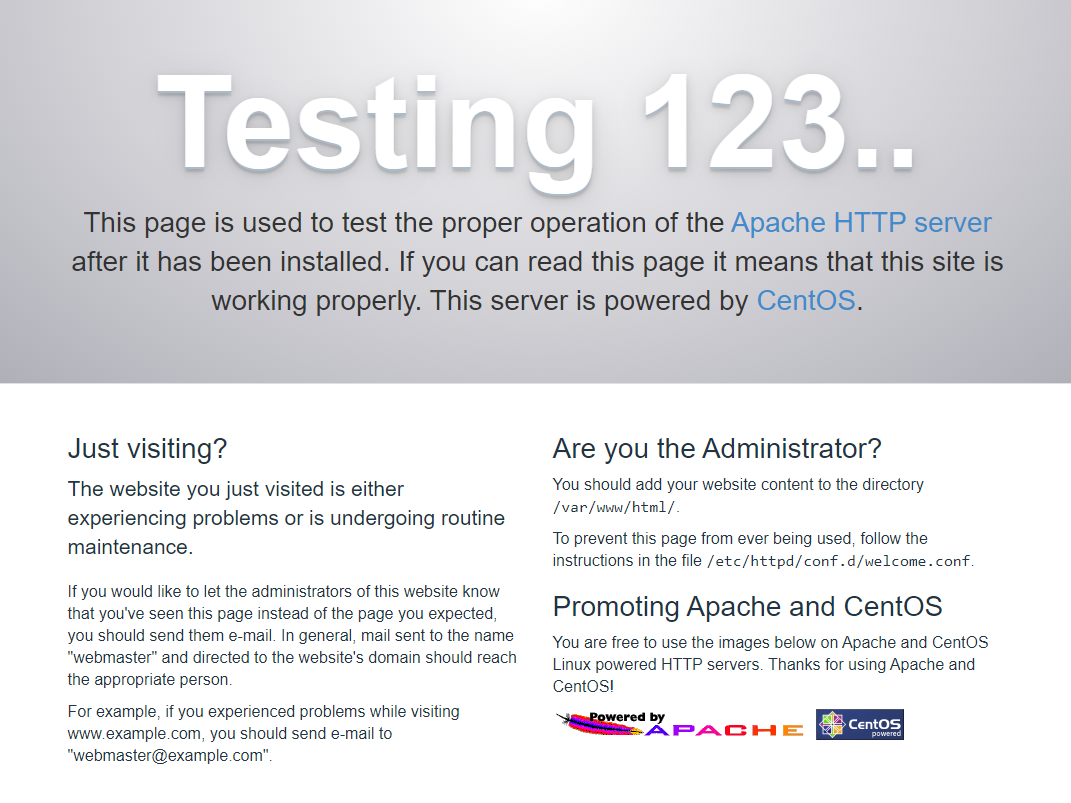
Upon completion of the operations, visiting the IP address of your server via browser, you should see the following:
http: // [SERVER_IP_ADDRESS] /
If everything works correctly, proceed with the installation of the PHP package:
yum install php -y
Then, restart the apache service:
systemctl restart httpd.service
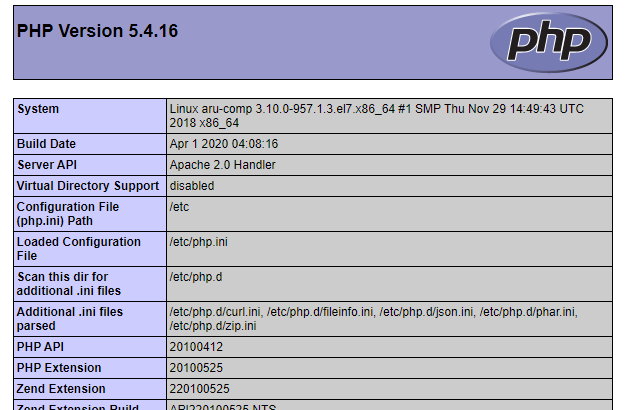
After completing, verify the correct functioning of you installation by creating a "test.php" file in the Apache root directory:
echo "{C}" >> /var/www/html/index.php
By visiting your server at its IP address you should now see the following:
Installing Composer
First, go to the main directory of the Apache web server:
cd /var/www/html/
Then, proceed with the installation of Composer through the following commands:
php -r "copy('https://getcomposer.org/installer', 'composer-setup.php');"
    php composer-setup.php
    php -r "unlink('composer-setup.php');"
Should you encounter any problems, following the instructions onthe official Composer website is recommended .
If the installation was successful, a new file called composer.phar should be found in the directory:
ls -lt

-rwxr-xr-x. 1 root root 1994167 Aug 27 06:40 composer.phar
-rw-r--r--. 1 root root      20 Aug 27 06:21 index.php
At this point, start using Composer by recalling it through PHP, for example:
php composer.phar -v
However, in this guide the global installation is performed through the command:
mv composer.phar /usr/local/bin/composer
In this way it can be recalled more easily through the command:
composer -v
Creating a project with Composer
Proceed by creating a basic project for your application by running this command inside the / var / www / html directory:
composer init
You will be requested for a series of information, such as the name and author of the project:
Package name (/) [root/root]: aruba/comp-test
Description []:
Author [, n to skip]: n
Minimum Stability []:
Package Type (e.g. library, project, metapackage, composer-plugin) []: project
License []:
Later, you will be requested by Composer whether you want to define dependencies directly in this phase. For now, answer ‘no’:
Define your dependencies.

    Would you like to define your dependencies (require) interactively [yes]? no
    Would you like to define your dev dependencies (require-dev) interactively [yes]? no

    {
        "name": "aruba/comp-test",
        "type": "project",
        "require": {}
    }
Then, confirm the data just entered:
Do you confirm generation [yes]? yes
Composer will use the information just entered to prepare the composer.json file inside the current folder. This file not only contains the information written above, but is also used to contain different metadata of the project and its dependencies.
Using a dependency
To install any dependency just use Composer ‘require’ command.
All libraries installed through Composer will be saved in the “vendor” directory of our project, and stored in the composer.json file.
In this tutorial monolog, a library capable of managing log files will be used. To install it, just run:
composer require monolog/monolog
Y The "index.php" file can be later updated with the following listing:
<?php

    // Recall the outloading of the classes
    require __DIR__ . '/vendor/autoload.php';

    // Prepare a new logger
    $log = new Monolog\Logger('name');

    // Create a new log file ‘app.log’ in the current directory
    $log--->pushHandler(new Monolog\Handler\StreamHandler('app.log', Monolog\Logger::WARNING));

    //Save an example text
    $log->addWarning('Test monolog');
Save the file you just edited, and run it from the command line:
php index.php
If everything works correctly, he new log file "app.log" will be found in the directory:
cat app.log

    [2020-08-27 12:09:35] name.WARNING: Test monolog [] []
Added composer.lock file
When installing a project using the “install” command, Composer checks for the existence of the “composer.lock” file.
If the file is not present, this is the first installation of the project. In this case, Composer will install all the dependencies indicated by the composer.json file, with their latest available version, in the “vendor” folder.
Once completed, it will save all the version numbers of each individual downloaded dependency in a new composer.lock file, so that other installations of the same project can use the same versions the project was created with.
If, on the other hand, the file is already present in the current directory, Composer will download the dependencies specified in the composer.json file, but using the version numbers indicated in the composer.lock file.
In case your project uses software revision tools, saving in the repository not only the composer.json file but also the composer.lock file mentioned above is recommended.