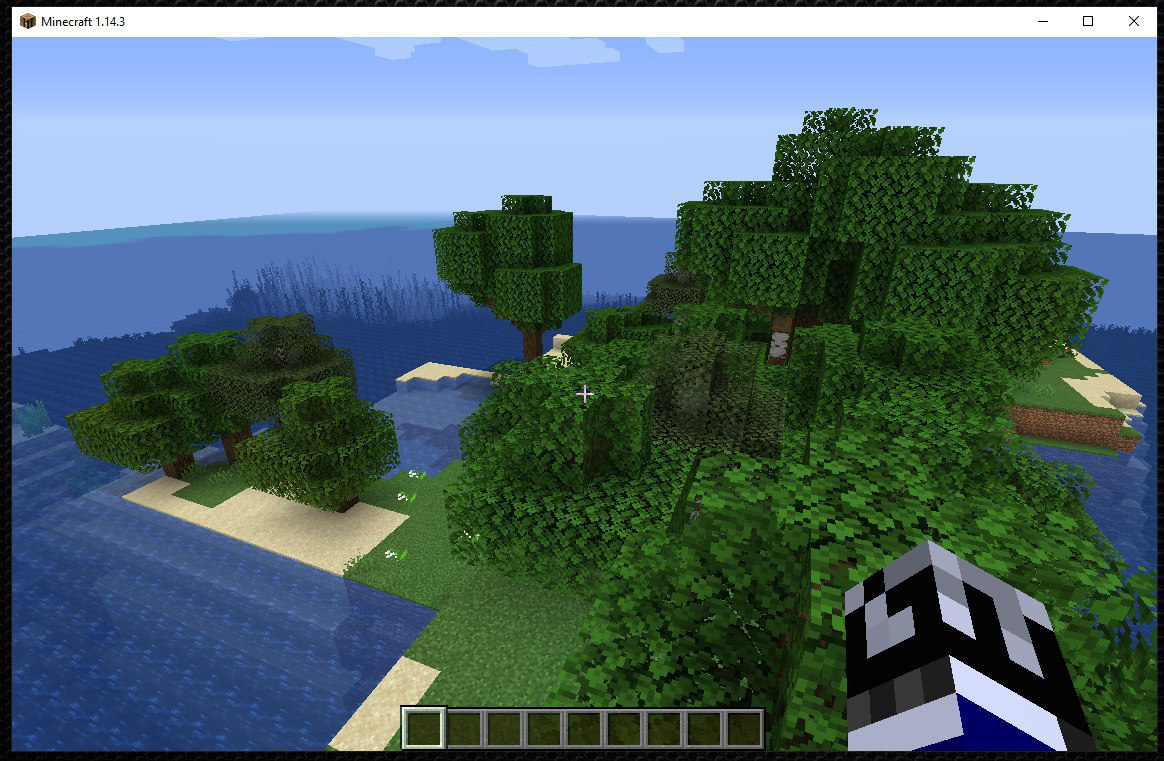
Minecraft is a sandbox type game that allows other players to explore and build an endlessly generated 3D world. By owning a Minecraft server you can set the rules of the game to create personalized experiences.
This guide will allow you to configure a server for Minecraft on Ubuntu 18.04.
First, connect to your server via an SSH connection. If you haven’t done so yet, following this guide is recommended to
connect securely with the SSH protocol. In case of a local server, go to the next step and open the terminal of your server.
OpenJDK installation and new user creation
OpenJDK 8 is a free implementation of Java platform and it is essential for starting Minecraft server.
Minecraft server 1.14.3 is compatible only with OpenJDK 8.
Check if OpenJDK 8 is already installed (or if OpenJDK 7 is present) with the following command:
If the command returns an answer that includes build 1.8.0, go to the next step.
Instead, if the java -version command does not return any response, proceed with the installation of OpenJDK 8.
$ sudo apt install openjdk-8-jre-headless screen
Then create a new user for Minecraft:
Here a password for the newly created user can be chosen
Installing Minecraft server
Once the new user is created, enter as user minecraft by typing:
Download the latest version of Minecraft multiplayer server.
You can find it on the website https://www.minecraft.net/it-it/download/server/. In case of a new version replace URL in the command:
$ wget https://launcher.mojang.com/v1/objects/d0d0fe2b1dc6ab4c65554cb734270872b72dadd6/server.jar -O minecraft_server.1.14.3.jar
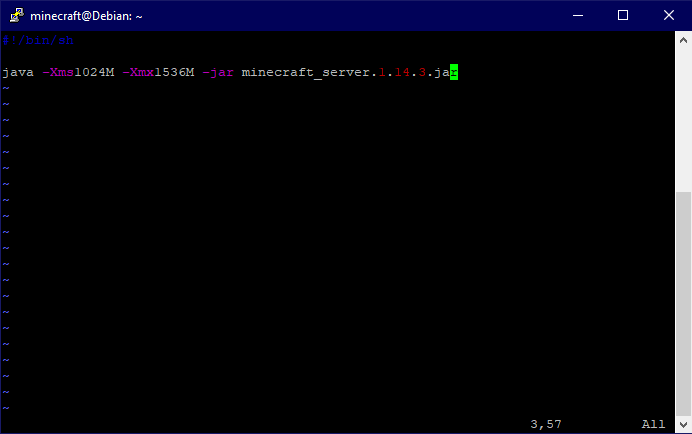
Create a script to start Minecraft server.
In this way the server can be started without having to enter the command each time:
#!/bin/shJava -Xms1024M -Xmx1536M -jar minecraft_server.1.14.3.jar
The script has to contain the following lines:
#!/bin/sh
                    Java -Xms1024M -Xmx1536M -jar minecraft_server.1.14.3.jar
Where -Xms and -Xmx represent the minimum and maximum amount of RAM in Mb to be used by Minecraft server. They can be changed according to your needs.
To create a new script, write:
$ sudo vi /home/minecraft/run.sh
To edit the text press "i", to enter insert mode.
Once the text is edited , press Esc and type the W key to save and Q to close.
Make run.sh an executable:
$ sudo chmod +x /home/minecraft/run.sh
This enables the execution of the script.
Starting Minecraft server
If all the steps were correctly performed, to start the Minecraft server just write:
The first time this command is run, Minecraft server returns an error message and requires the acceptance of the EULA contract.
The EULA contract is the end user license agreement, without which the server cannot be started .
To give permission, edit the eula.txt file as in the previous passage to create the run.sh file:
$ sudo vi /home/minecraft/eula.txt
Once inside it, change:
eula = false
in
eula = TRUE
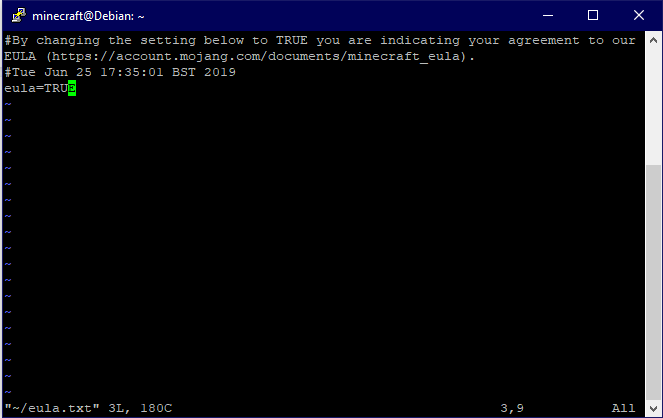
Save and exit.
Once done, the server can be finally started.
When starting the server, the Minecraft world created will start with all the default settings
To customize the game settings, access the file /home/minecraft/server.properties
To do so, enter the following command:
$ sudo vim /home/minecraft/server.properties
Entering the command a screen like the following will be displayed:
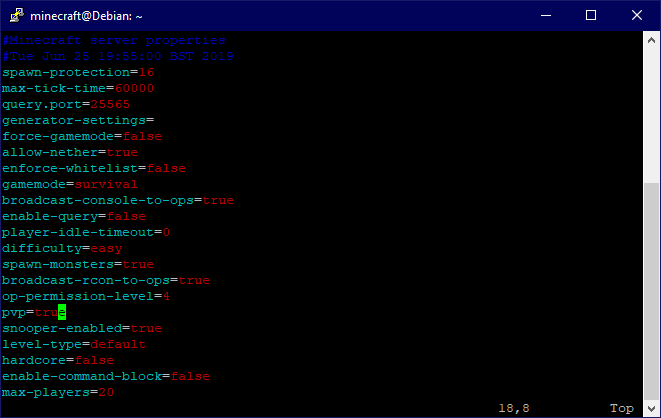
From here every aspect of the game can be customized.
For example the game mode (gamemode), the number of players allowed to participate (max-players) or the seed used.
Once the changes are made, they will also be stored for subsequent server startups.
To access a complete list of all the settings, visit the page https://minecraft.gamepedia.com/Server.properties .
Connecting to the server with a Minecraft client
To connect to the server, Minecraft client is needed. Minecraft client can be downloaded at the following link https://www.minecraft.net/it-it/ . Then open the Minecraft client.
NB The client has to be compatible with the server used. Minecraft server 1.14.3 is compatible only with the same client version.
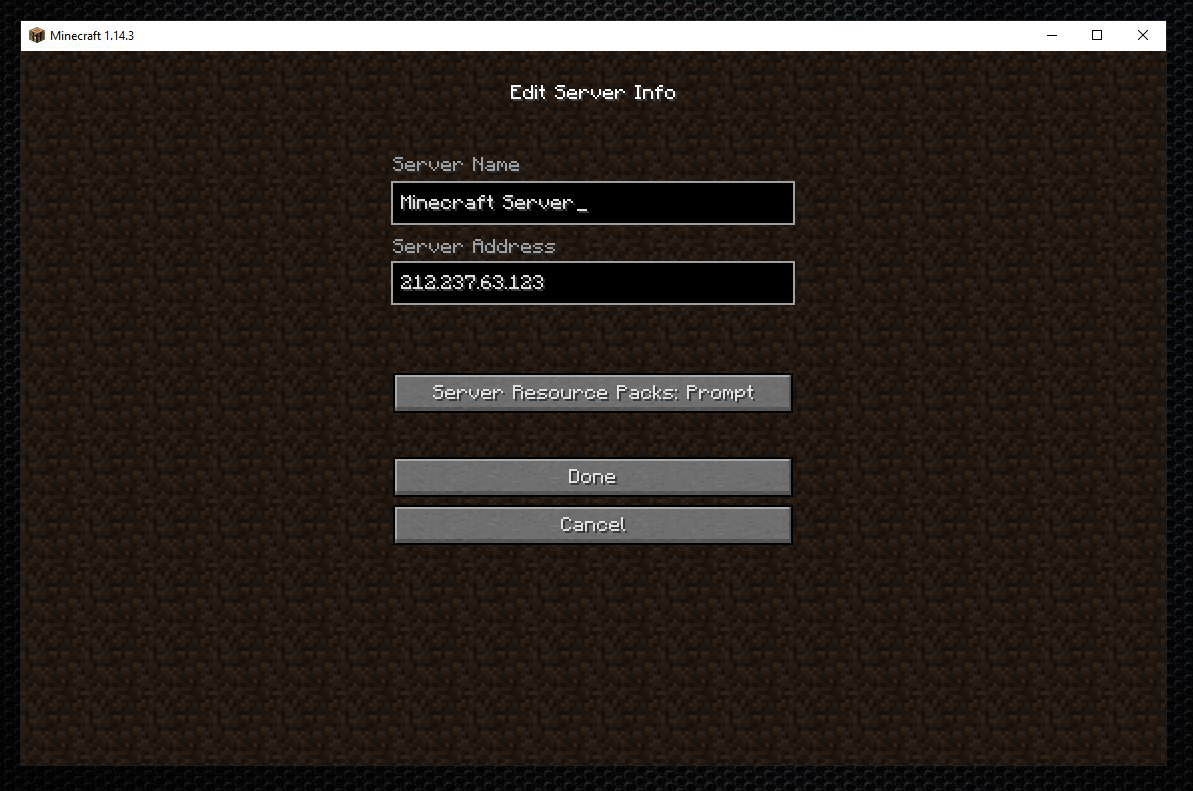
Enter multiplayer mode and click on Add server: enter the server name (any name) and the IP address of Minecraft server in this screen.
Then click on DONE.
The server is now available on the Multiplayer screen. Finally, access the server by clicking on it.