Introduction
Laravel Horizon is designed to facilitate queue monitoring via a web interface. Laravel Horizon the Redis queues thanks to a Dashboard that provides several statistical data on the execution times, throughput or failure of the processes involved, sending notifications if errors occur.
Prerequisites
To use Horizon, your processes must be on a Redis queue and your queue connection must be set to the redis entry in the config / queue.php configuration file .
Installing Horizon
To install Horizon, use the Composer packer manager, through the command:
$ composer require laravel/horizon
At this point, publish the Horizon assets via:
$ php artisan horizon:install
To make sure a Redis client is being used, install a specific package called predis in the project :
$ composer require predis/predis
Finally, modify the database.php configuration file, specifying the use of predis as Redis Client:
'client' => env('REDIS_CLIENT', 'predis'),
Once the configurations are changed, clear the Horizon cache and start it.
$ php artisan cache:clear
$ php artisan horizon
When starting Horizon, if everything went well, the system should show the following message confirming the execution.
Horizon options
To manage Horizon settings, simply open and edit specific configuration files.
From horizon.php, present in the config folder, the default settings of the queue management can be checked and modified.
The default entries in the file will be as follows:
'defaults' => [
 'supervisor-1' => [
 'connection' => 'redis',
 'queue' => ['default'],
 'balance' => 'auto',
 'maxProcesses' => 1,
 'tries' => 1,
 'nice' => 0,
 ],
],

'environments' => [
 'production' => [
 'supervisor-1' => [
 'maxProcesses' => 10,
 'balanceMaxShift' => 1,
 'balanceCooldown' => 3,
 ],
 ],

 'local' => [
 'supervisor-1' => [
 'maxProcesses' => 3,
 ],
 ],
],
By analyzing the items, there will be a field called "balance". The values to enter can be:
- simple, which will split the process in only two tails;
- auto, which will allow the division into queues based on the remaining processes and average waiting times;
- null, which will manage the processes in a single queue.
In the queue field, instead, queues where to divide the processes can be defined by inserting a comma and a new name in quotes.
A minimum and a maximum number of processes to be managed in a queue can also be defined.
Other settings to highlight are those present in the queue.php file :
'redis' => [
 'driver' => 'redis',
 'connection' => 'default',
 'queue' => env('REDIS_QUEUE', 'default'),
 'retry_after' => 90,
 'block_for' => null,
],
As it is shown, the connection of an empty queue will remain on default and, if there are no other processes in the queue, it will restart every 90 seconds.
The Dashboard
To access the queue control panel, connect to the address: http: // IP address: ServerPort / horizon / which you will need to clearly replace with the IP address of your server and the port where the service has been installed on.
If the project is hosted locally, use the address instead: http://localhost:8000/horizon/
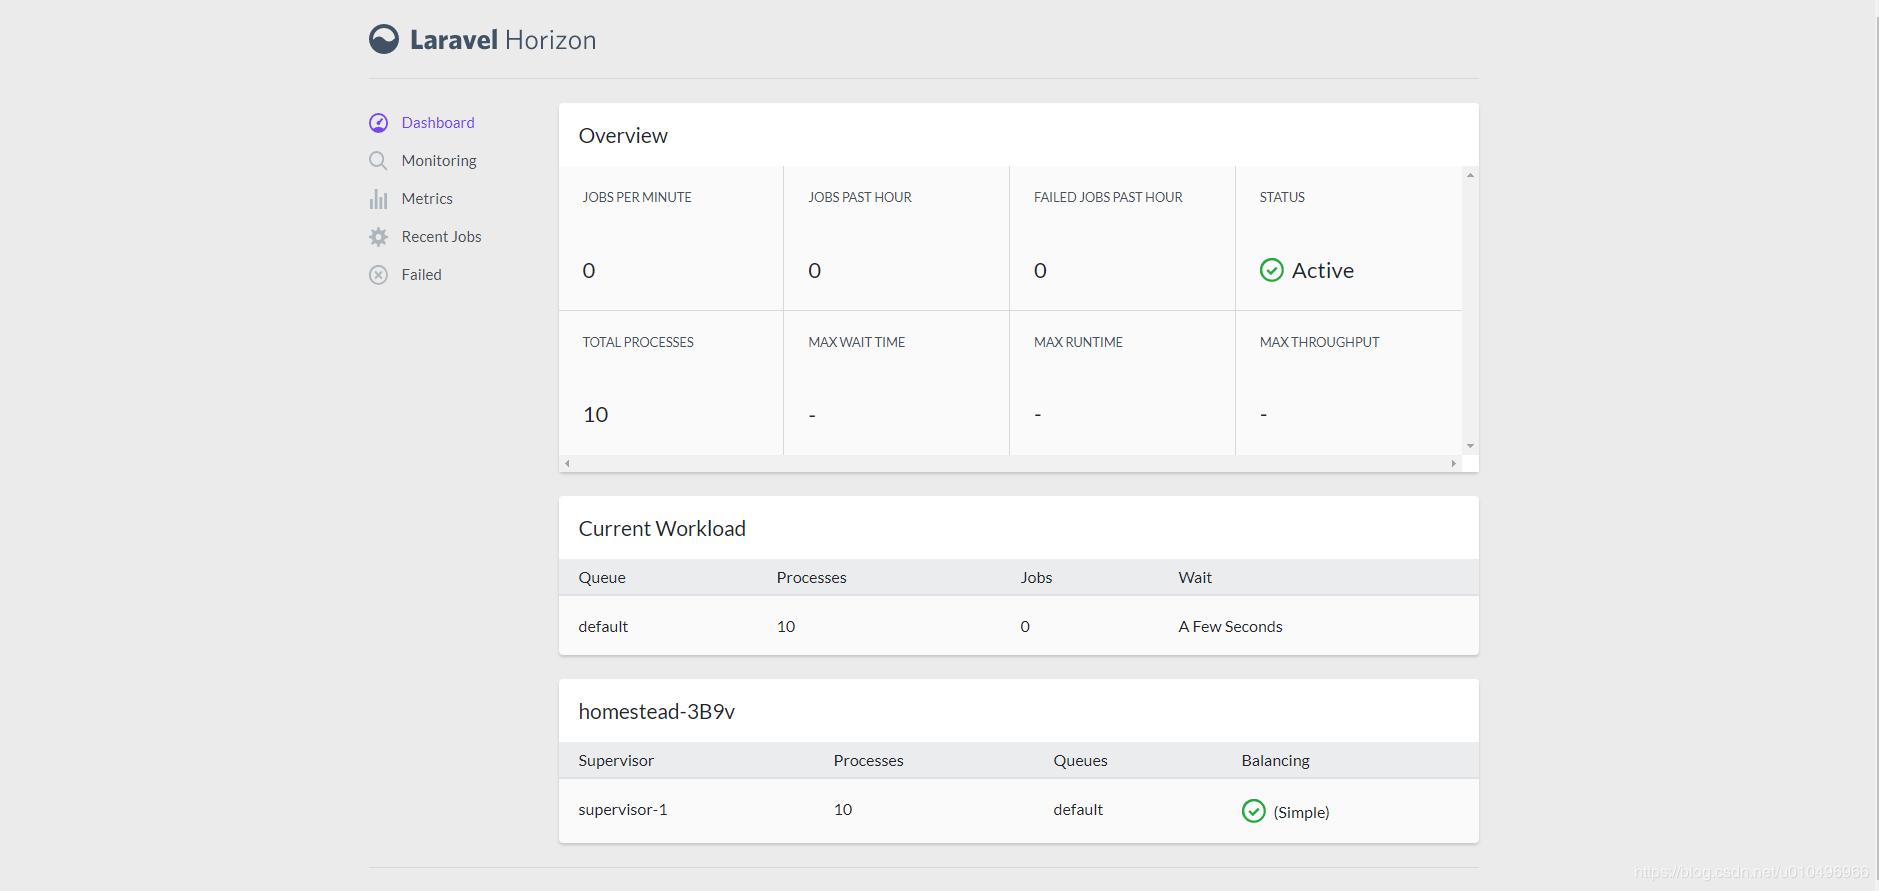
The Dashboard shows the Horizon outputs, obviously based on the previously decided configurations. It is always possible to change configuration and define new queues from the horizon.php file .
As seen previously, it will be necessary to stop Horizon, clear the cache and restart it. At the end of these three operations, by connecting again to the Dashboard, the new outputs will be shown.
Conclusions
You should now have Laravel Horizon properly installed and know how to navigate the most important configuration options and the queue control panel.
For more information on the different features and options of Horizon, consult the official Horizon documentation.