Introduction
Plesk is a payment tool for managing your web space, available for both Windows and Linux operating systems. It provides a suite for the management of your webserver, including FTP services, mailing, DNS management and, in case of further needs, many extensions with which to expand the functionality of the tool.
One Click Installation
One of the fastest ways to install and enable Plesk on your server is to use the oneclick installation. To do so, first, log into the server with the RDP. Then, download the Plesk installer and, from the windows terminal, move the workspace into the folder where you saved the installation file.
Finally, run the following command:
plesk-installer.exe --select-product-id=panel --select-release-latest --installation-type=recommended
A complete installation of the latest version of PLESK will follow, with all the basic functions integrated (accessory features can be integrated ever after installation). The installation may take up to an hour.
Installation from the Windows console
To install via command prompt, follow the steps below:
Through this procedure the latest stable version of Plesk will be installed on your server. To choose a different version, follow a more specific installation by typing the command:
plesk-installer.exe --console --all-versions
You will be requested whether you want to add some advanced preferences to the installation. To access it, simply enter the ‘S’ character and press Enter.
Plesk offers different types of installations:
- Recommended is the most complete package of basic services for webhosting
- Complete is the installation containing all the Plesk features, including ancillary ones. Obviously, it is the one that requires more time and space to be completed.
- Custom is the installation that allows you to individually select each feature to be used on Plesk.
Remember that no decision is irreversible: it is possible to remove or add new components even after the first installation of Plesk.
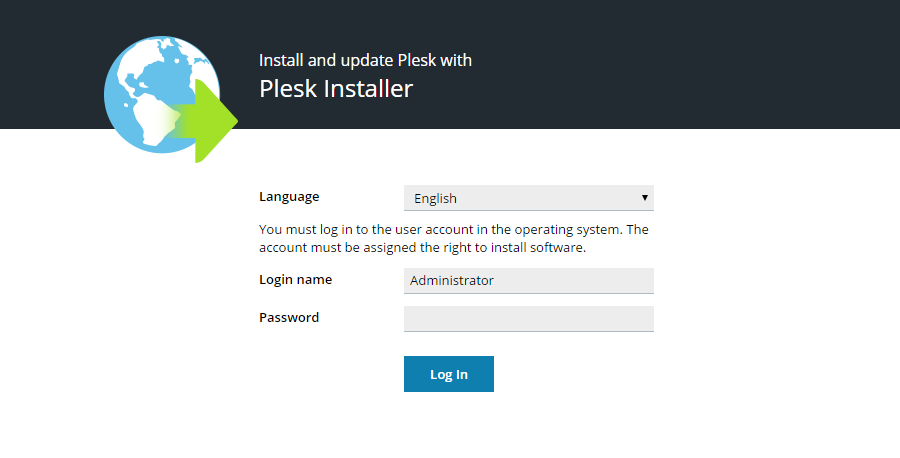
Installation on Windows via the WEB interface
To have a better choice of Plesk components to install, opt for the product installation via the web graphical interface
To proceed, follow these steps:
As in the case of the console installation, through this procedure the latest stable version of Plesk will be installed on your server. To choose a different version, follow a more specific installation by typing the command:
plesk-installer.exe --web-interface --all-versions
Once the interface is open, select a language and proceed with the installation of Plesk. There will be several choices of preferences and installation options, which can be chosen step by step, or opt for the normal recommended installation.
Conclusions
Plesk should now be properly installed and configured for your Windows server.