Moodle is a free and open source LMS (Learning Management System). It is an online learning management system, very widespread both in schools and universities, and for professional training in .
The Moodle platform is highly customizable and allows teachers to create virtual classrooms, disseminate content such as courses, lectures, multimedia materials and assign assessments. While students can access lessons and spaces for discussion.
In this tutorial you will find all the necessary steps to easily install Moodle on a virtual environment created with Jelastic Cloud, through the automatic deployment of the instance.
Automatic deployment of Moodle with Jelastic Cloud
Through the Jelastic web interface a Moodle instance can be automatically deployed in a few clicks.
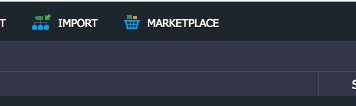
Click on "Marketplace" to view the list of applications that can be installed automatically.
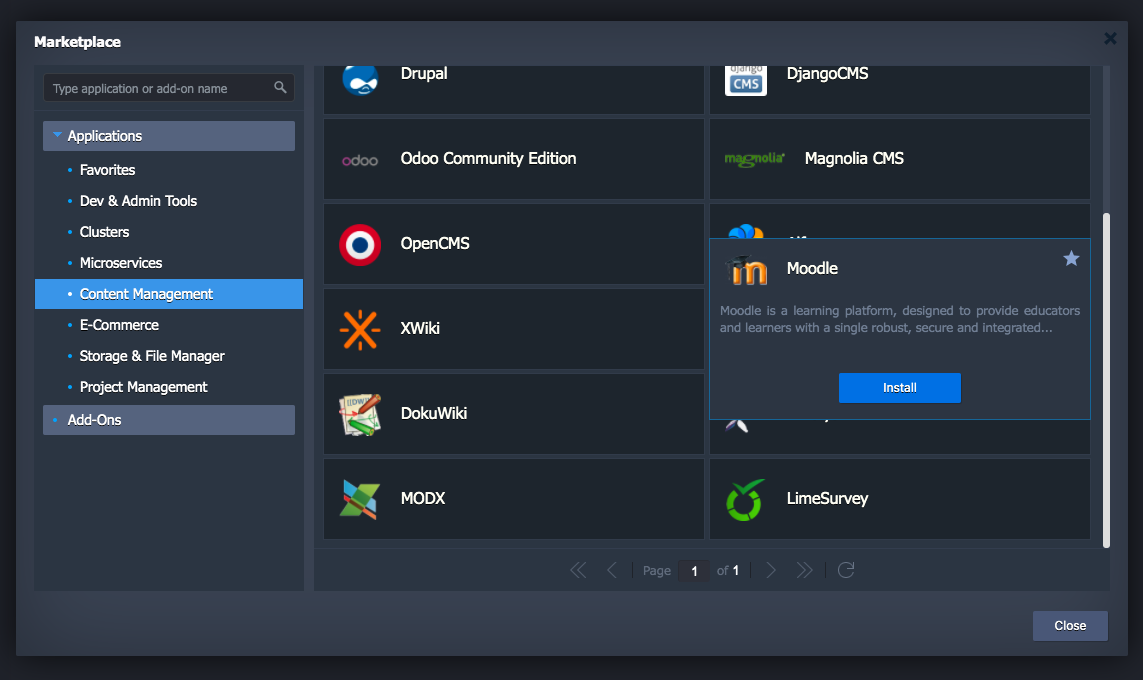
Select the "Moodle" instance and click on "Install".
At this point, configure the name and address of your instance.
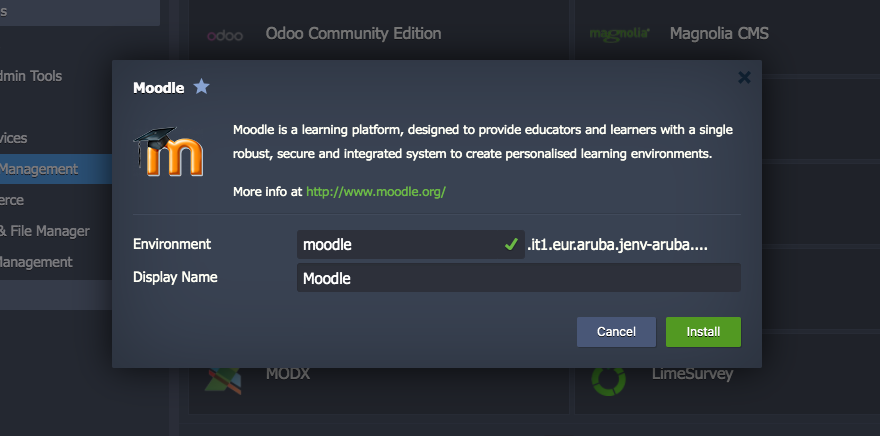
Then, start the automatic installation by clicking on "Install".
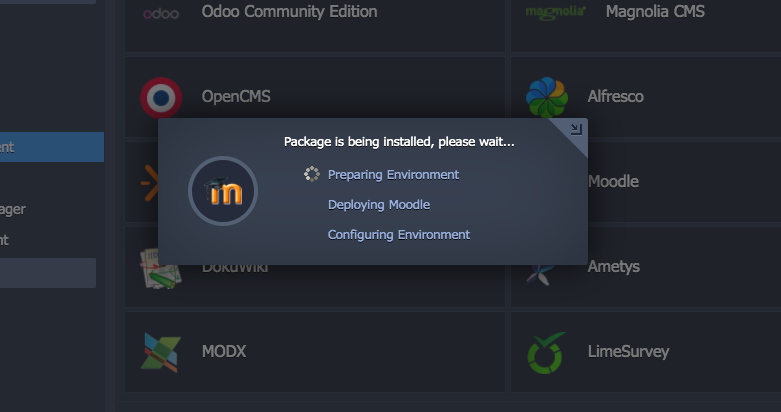
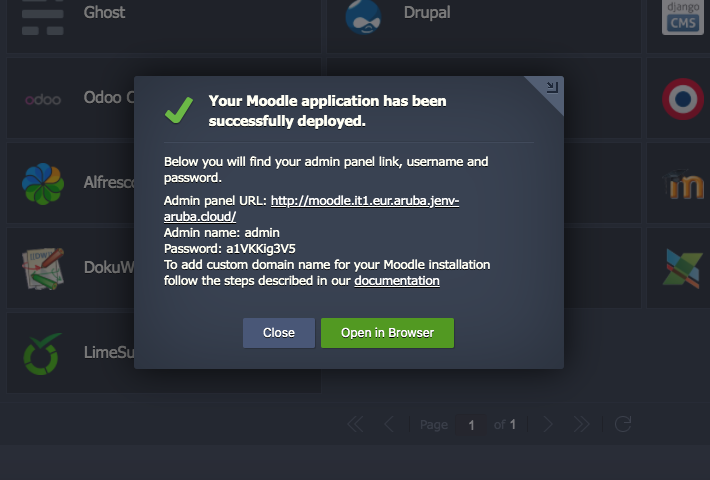
The system will take a few minutes to complete the installation and deployment of your new instance.
A confirmation message will warn you that the procedure has been carried out correctly and will show you the credentials of the Moodle administrator user, generated automatically by the system.
Configuring Moodle
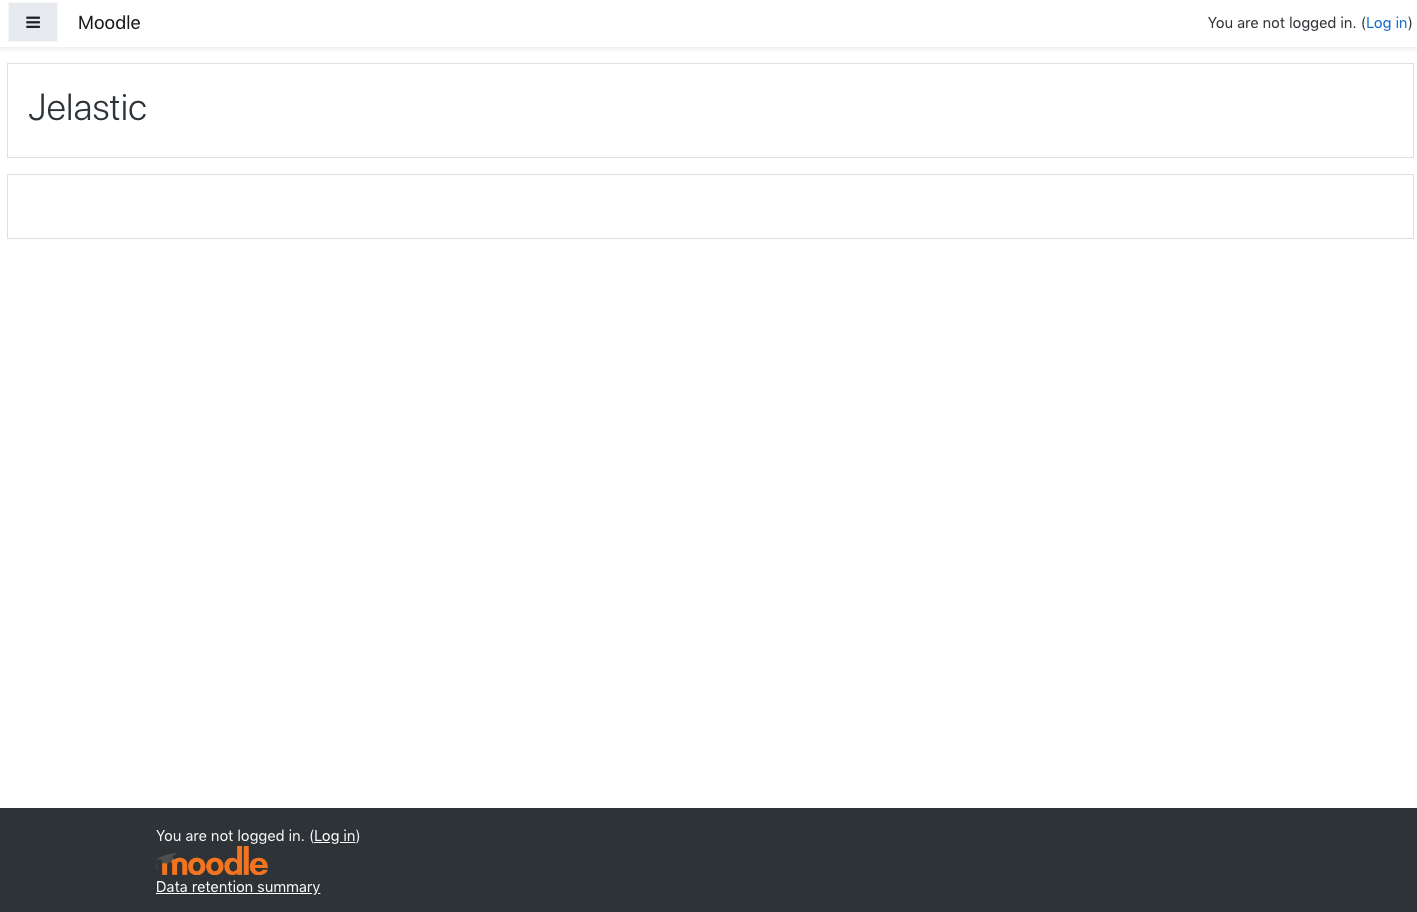
Moodle is then installed correctly. Open your newly created Moodle instance by clicking on the "Open in Browser" button.
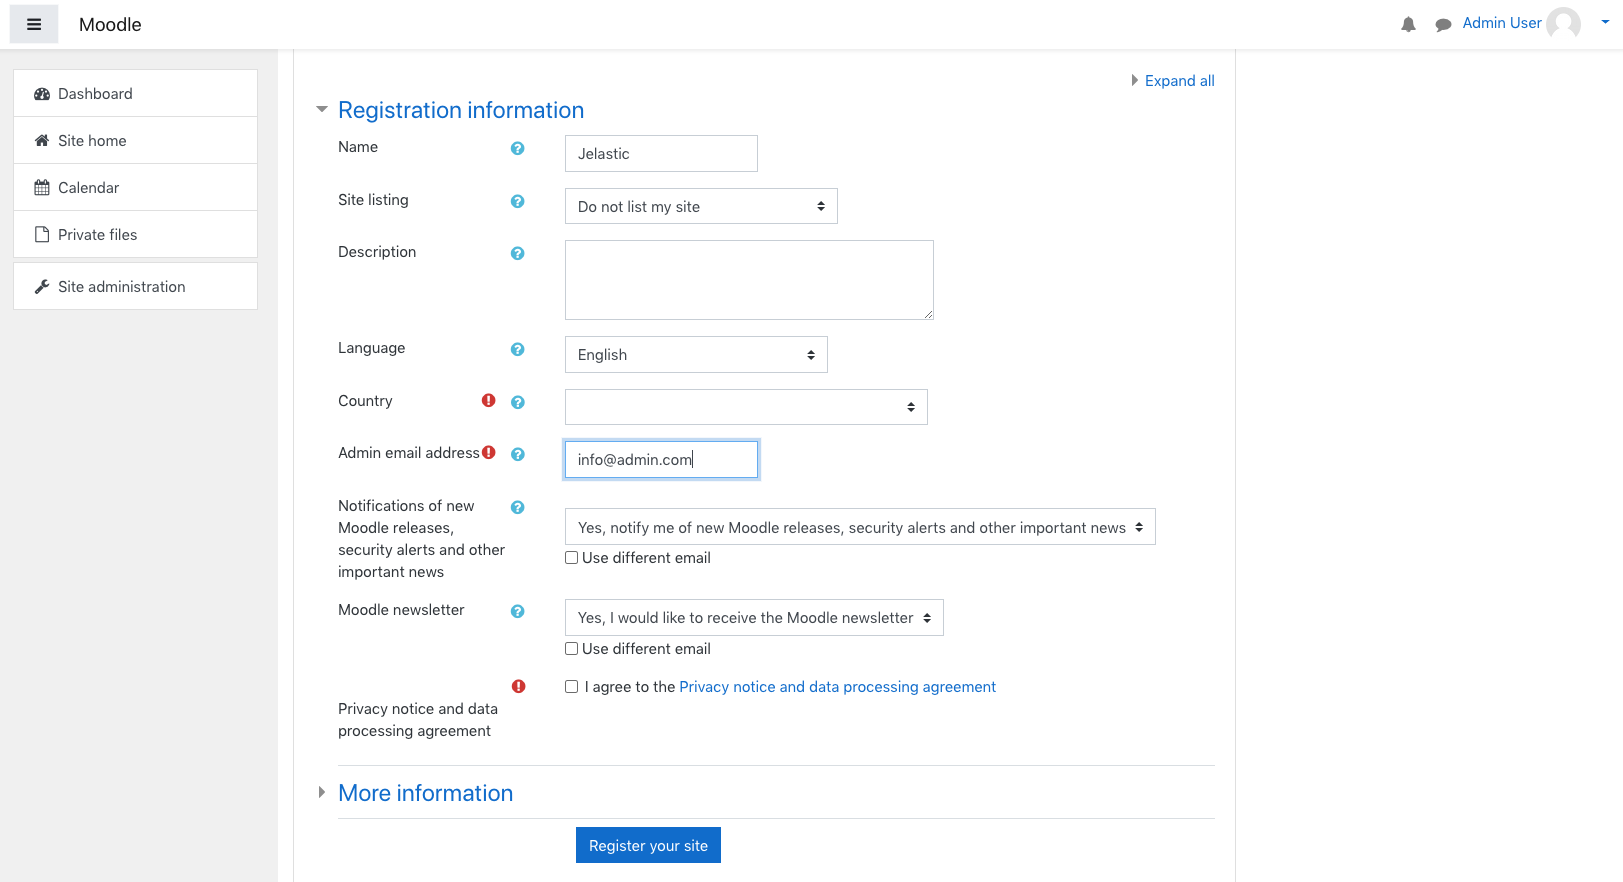
At this point, log in with the provisional data generated by Jelastic Cloud to complete the initial Moodle setup.
You will be requested to specify a name for your platform, the language to be used, the administrator's email address and other preferences related to site indexing on search engines and to the receiving of notifications via email.
Once the registration procedure is completed, a guided tour will start to explain all the Moodle features to be used.
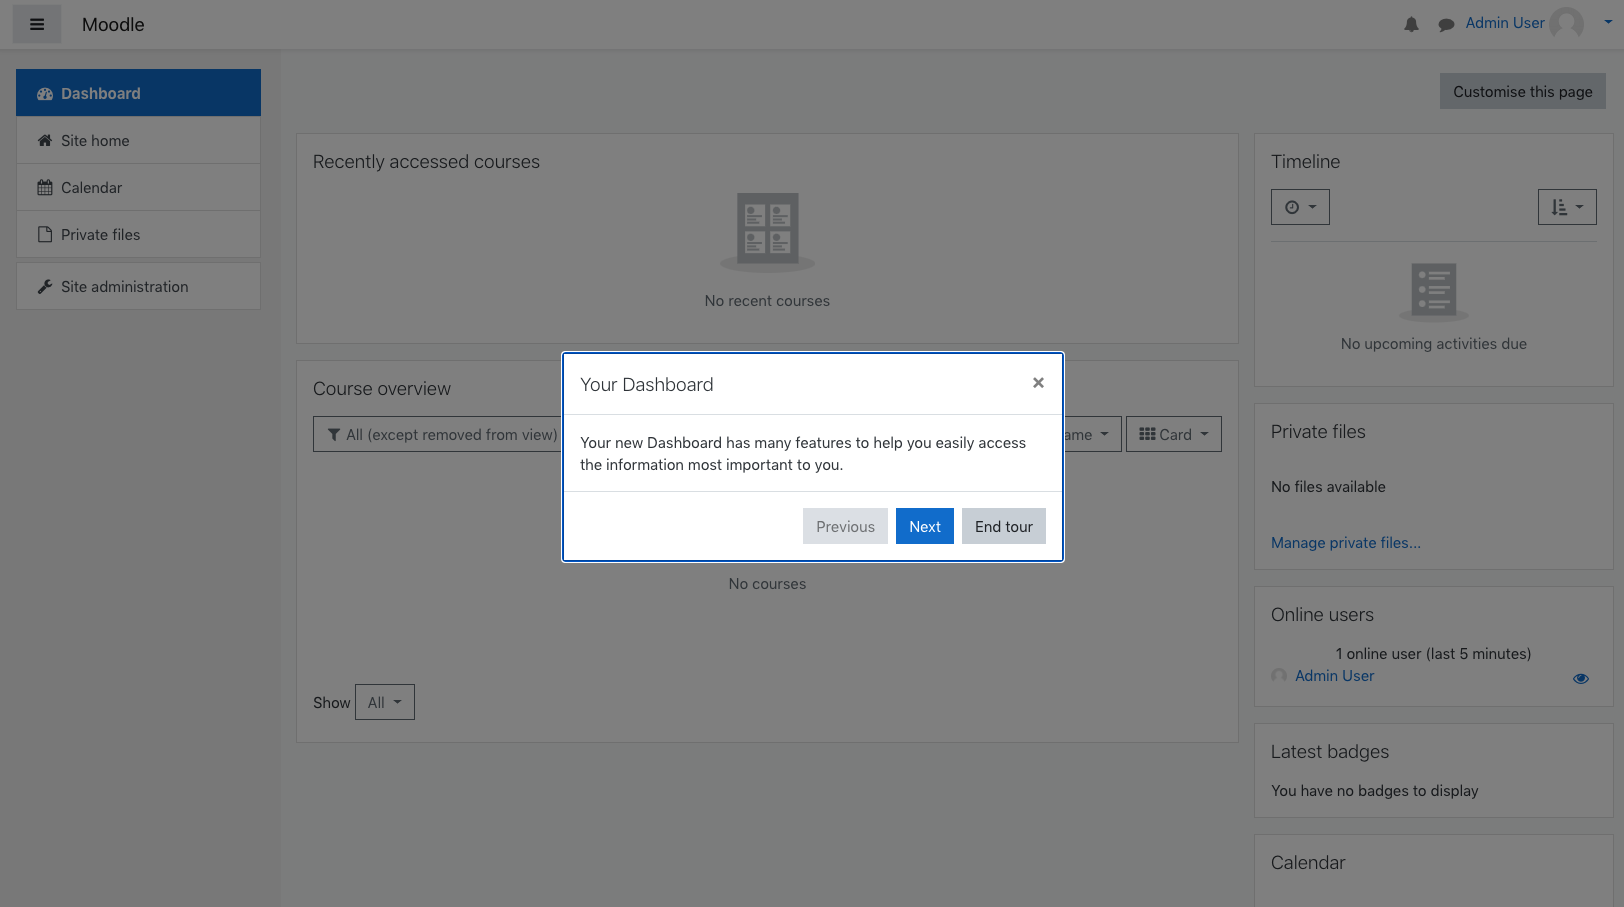
After completing the guided tour you will be ready to use Moodle and start managing your new e-learning Platform!