Magento is a flexible, customizable and highly intuitive open source CMS that allows you to fully manage an e-commerce. Thanks to these features, it adapts well both to the needs of a small online store and to those of a large e-commerce.
This tutorial, shows all the necessary steps to install the latest version of Magento on a virtual environment created with Jelastic Cloud, both through the automatic deployment of the instance, and, manually, through the creation of a new environment with Apache, PHP and MySQL CE.
Automatic deployment of Magento via Marketplace
By using the Marketplace inside Jelastic, install a new instance of Magento 2 in a few clicks with no need of particular technical configurations.
Click on "Marketplace" to view the list of applications that can be installed automatically.
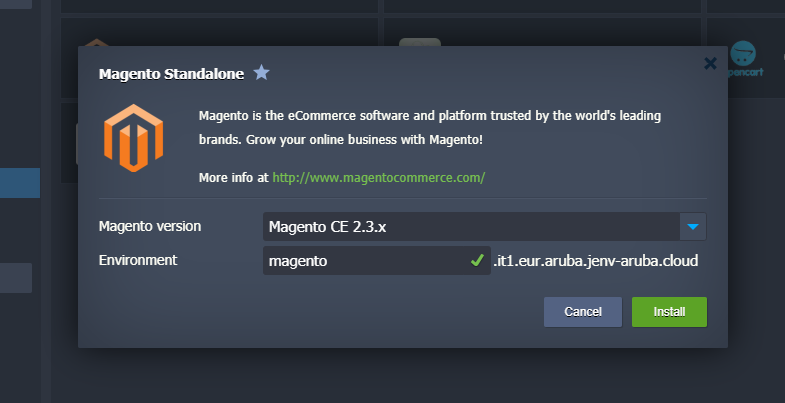
At this point, look for the "Magento Standalone" package and click on the "Install" button to continue.

Make sure to select version 2.3 or higher, as version 1.9 is now deprecated.
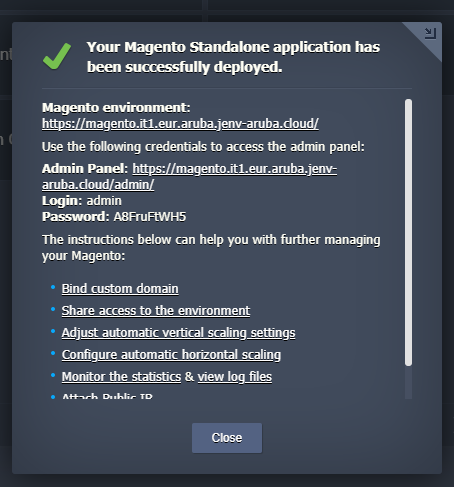
Once the installation is completed, the Jelastic web interface will notify you by showing the following
popup with the login credentials of your installation:
Manual installation and configuration of Magento
To manually install Magento with Jelastic Cloud, first, obtain the installation package by visiting the official website at the following URL: https://magento.com/tech-resources/download.
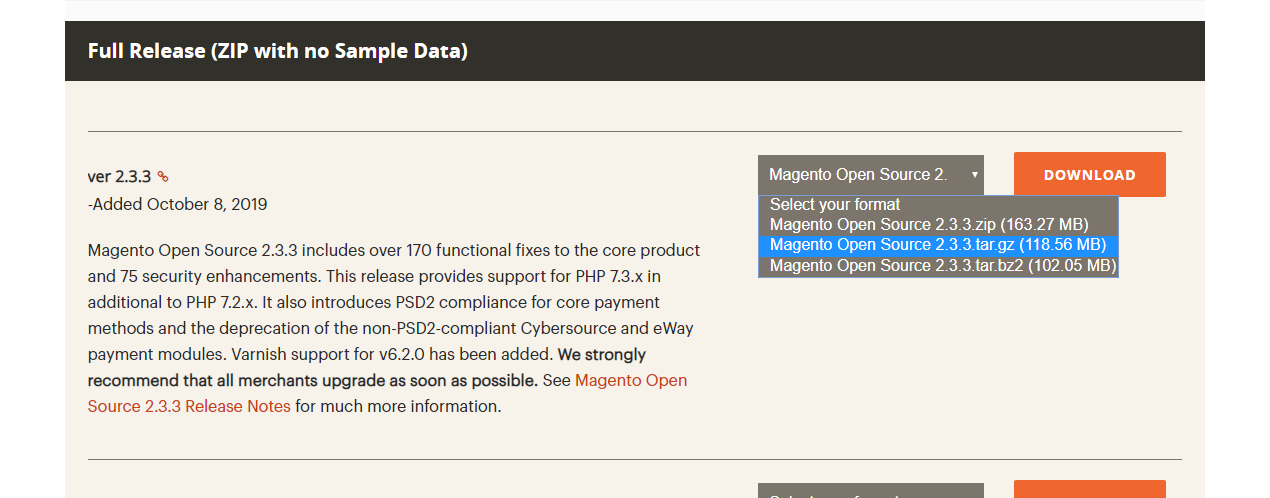
Proceed by selecting the version in tar.gz format and, if required, enter the credentials of the Magento Marketplace.
Once the package is downloaded, create a new Jelastic environment:

Make sure you select the "PHP" tab at the top and proceed by adding Apache as web server and the database MySQL CE version 5.7, as shown below:
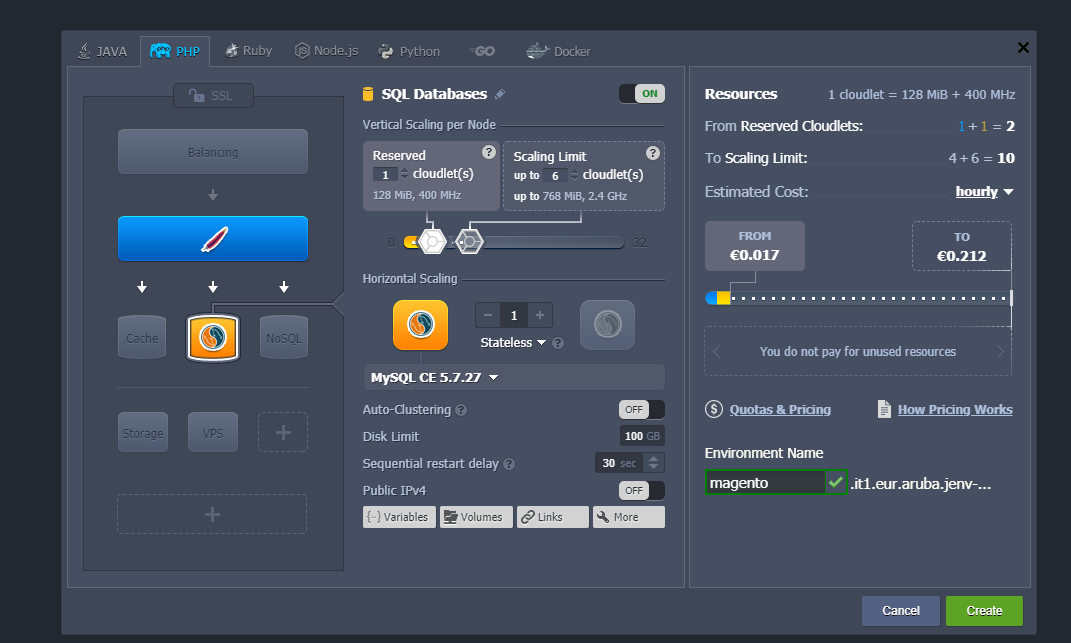
Once completed, click on the "Create" button to start installing your new environment.
Enabling PHP extensions
Magento requires some PHP extensions that are not enabled by default. Therefore, once the installation is completed, proceed by enabling them through the PHP configuration.
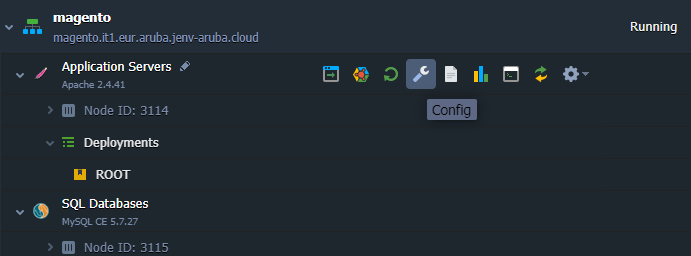
Use the configuration button on the right of "Application Servers" to display the configuration utility.
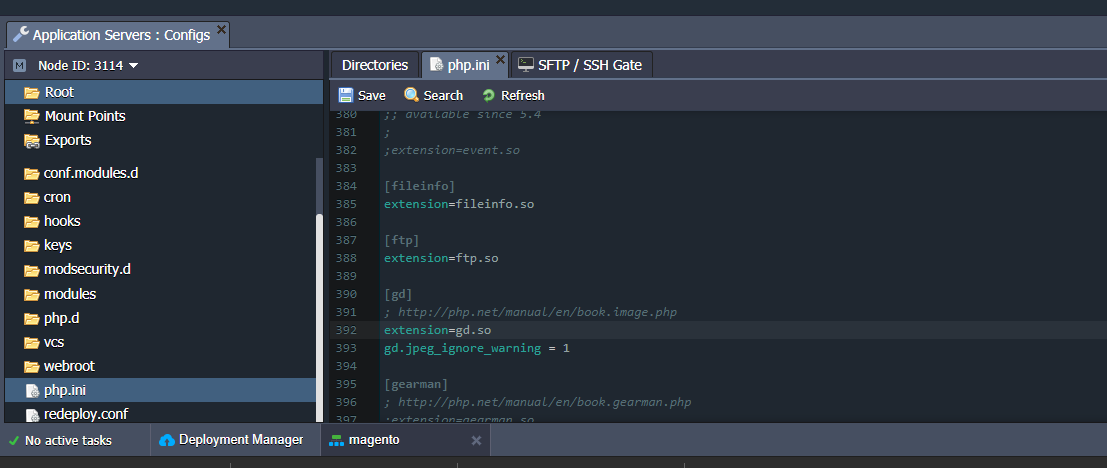
Select the “php.ini” file from the menu on the left side and remove the semicolon in the “gd” extension as shown in the figure (if necessary, use the search function):
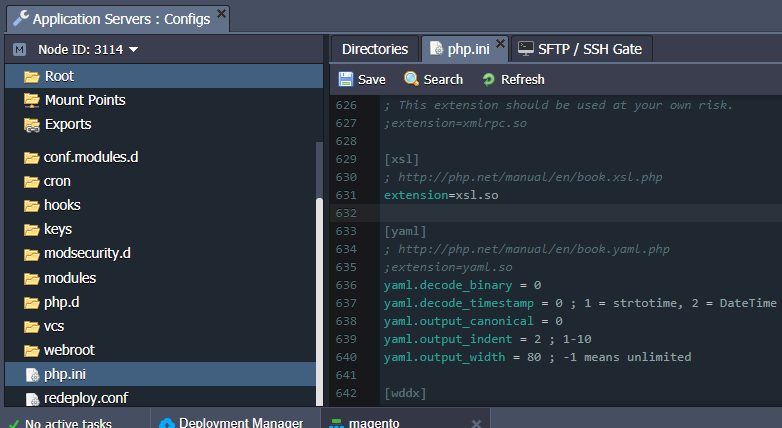
Continue by enabling the extension "xsl":
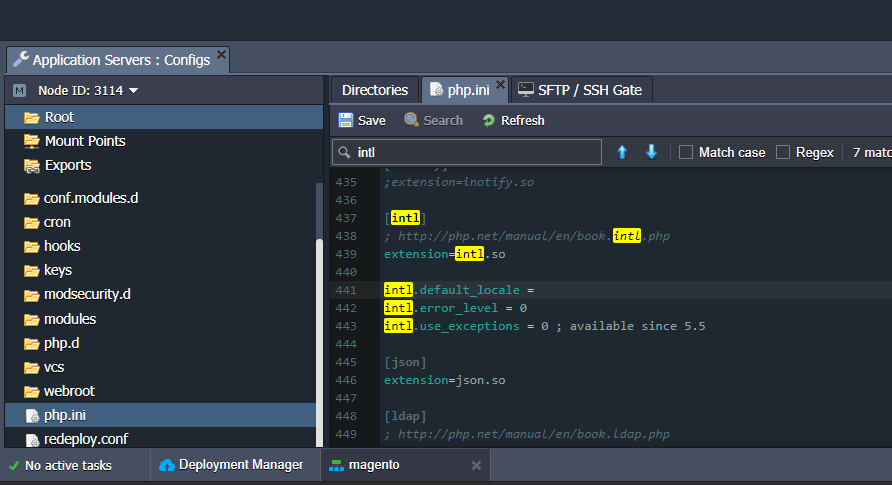
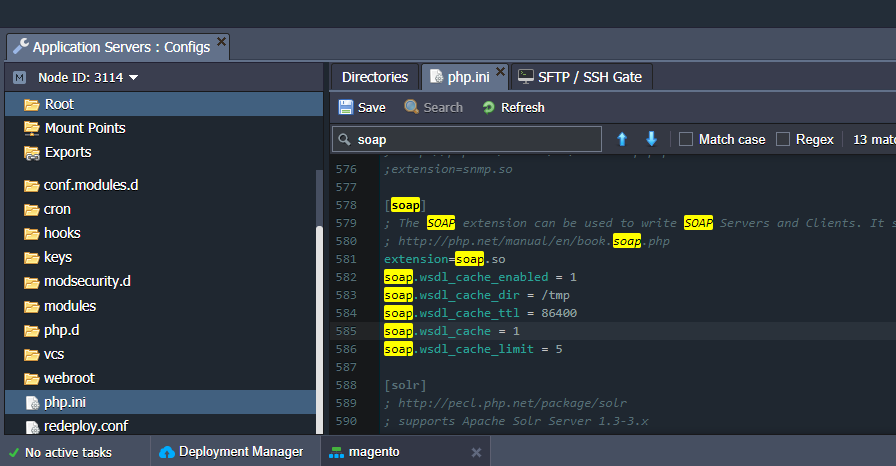
And the extensions "intl" and "soap":
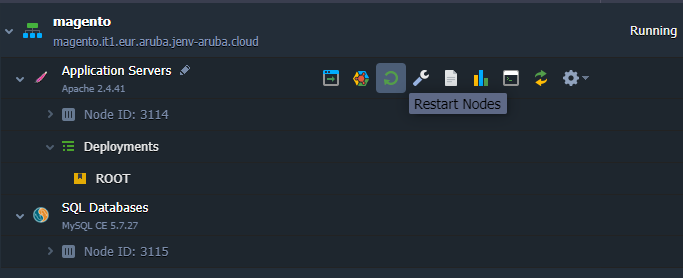
Once completed, save the changes you just made and restart the main node.
Uploading the archive
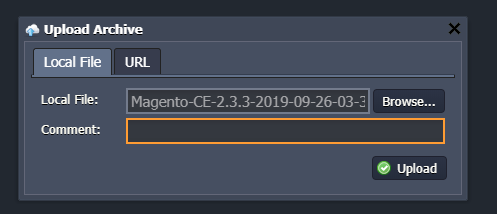
Then proceed by first uploading the archive with the Magento software using the Deployment Manager, by clicking on the "Upload" button:
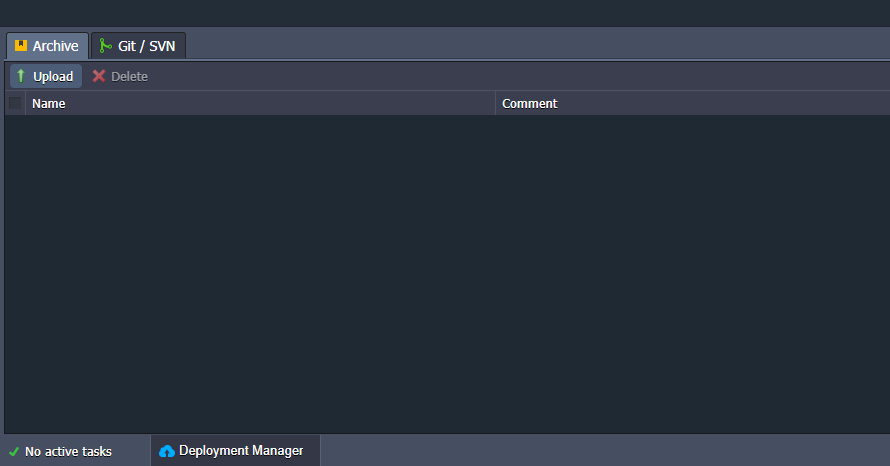
Then, select the archive previously downloaded from the official Magento website and click on the "Upload" button.
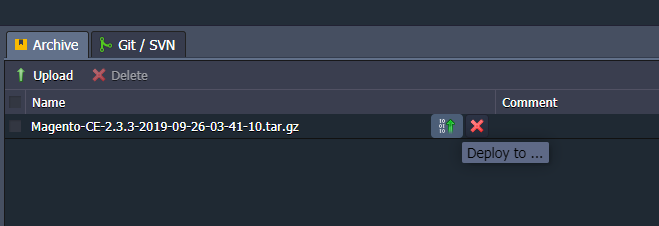
Once the upload is completed, proceed by clicking on the "Deploy to" button on the right of the archive just uploaded.
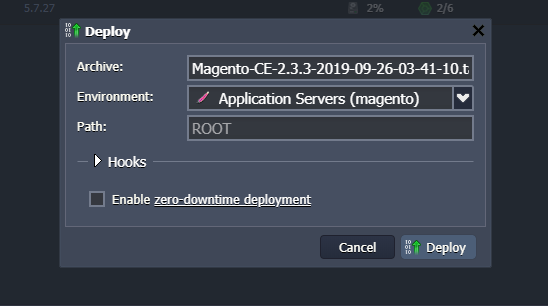
Use the default settings and proceed by clicking on the "Deploy" button.
Database configuration
After completing the deployment of the Magento package, continue with the configuration of the Database.
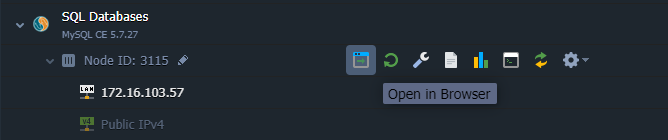
Click on the "Open in Browser" button next to the previously created database instance.
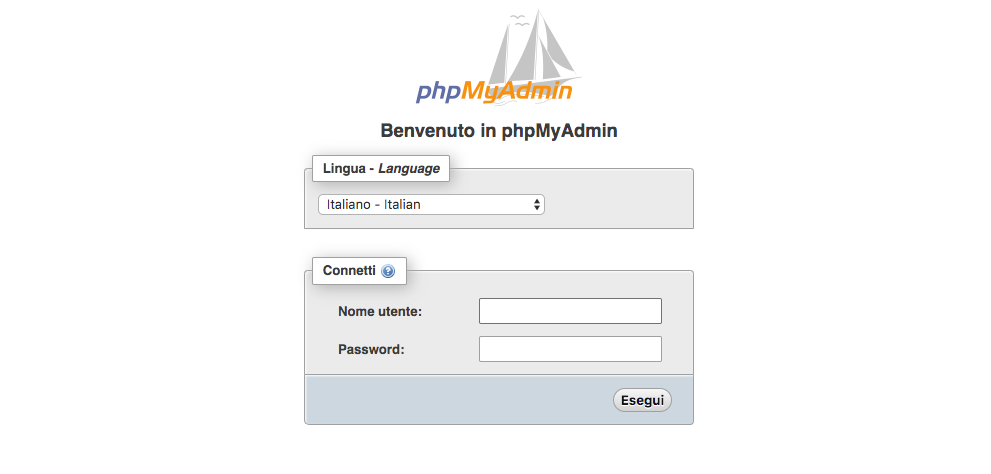
The phpMyAdmin login interface will be opened.
To access, use the credentials sent by email from Aruba Cloud.
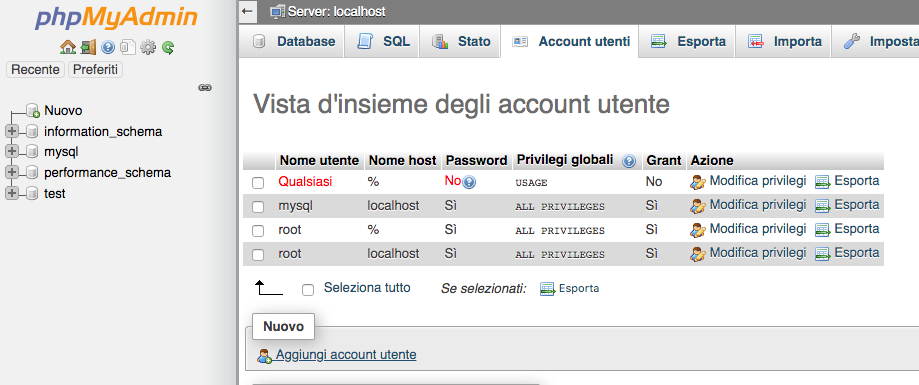
Access the User Accounts screen.

Continue by adding a new user and tick the box "Create a database with the same name and grant all privileges" to create the related database that will be used to host the instance of Magento.
Magento configuration
To start configuring Magento, click on the "Open in browser" button next to the Jelastic instance.
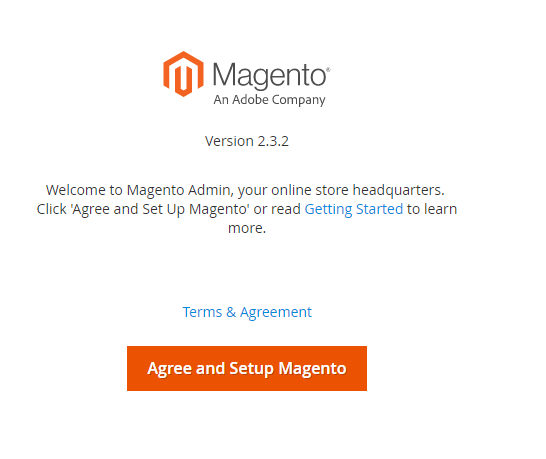
If everything works correctly, a wizard to guide you step by step to configure Magento will be displayed. Continue by clicking on "Agree and Setup Magento".
In this first phase, the wizard will carry out checks to verify that all the necessary functions for Magento are correctly installed and configured: continue by clicking "Start Readliness Check".

After completing the checks, continue by clicking "Next":

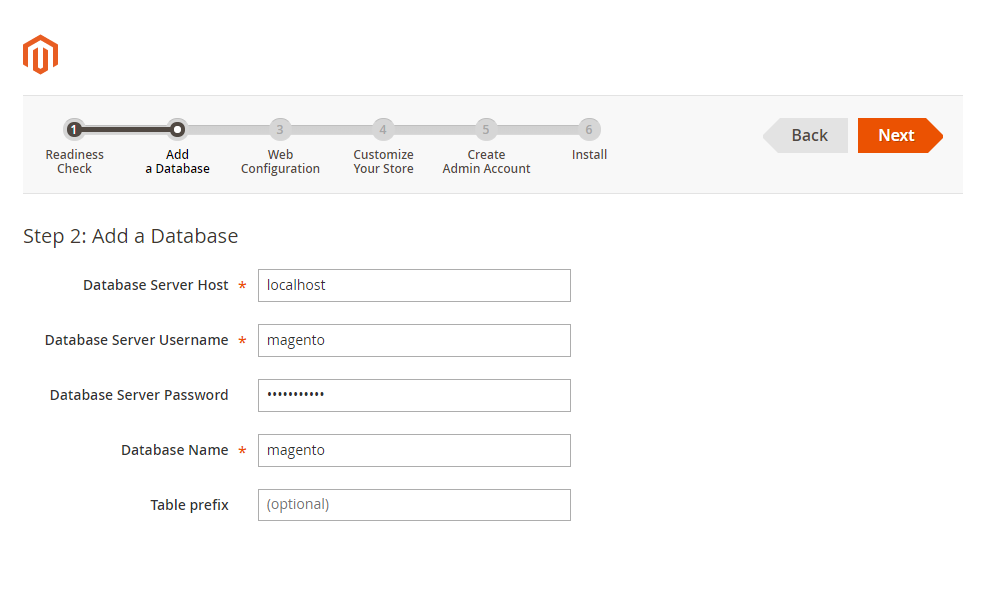
In this second phase, indicate the connection parameters to the database as shown above. For the username and database name use the same values you used during the configuration of the MySQL server. Then, after entering all the data, click on ‘Next.’
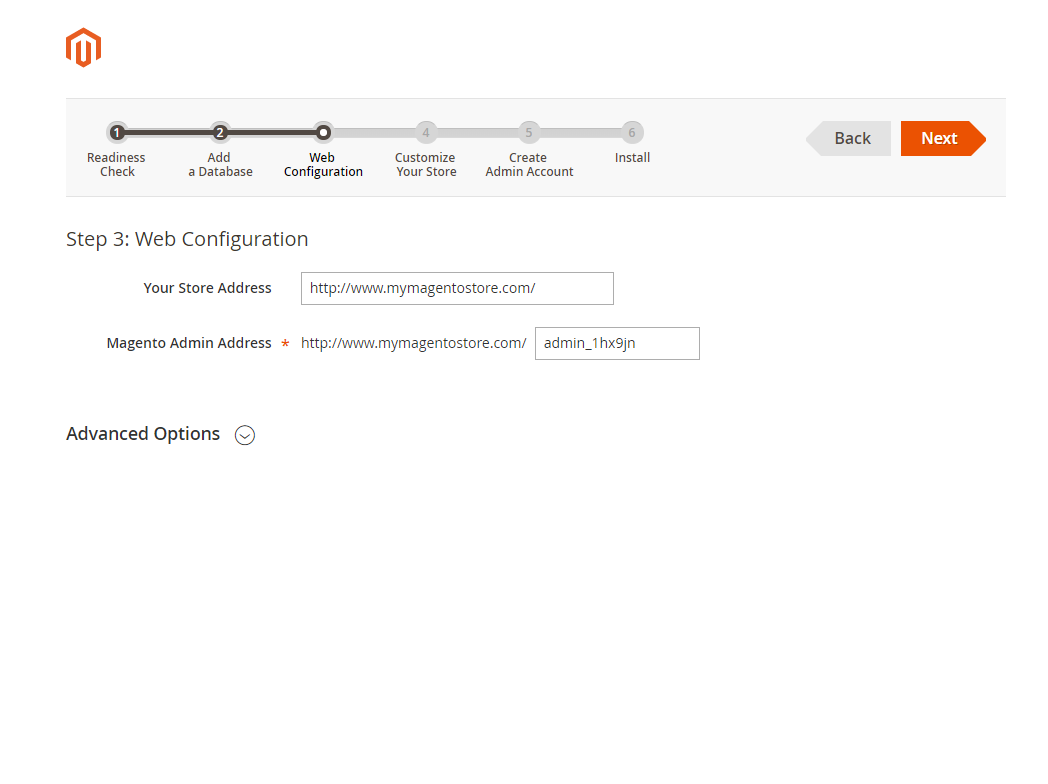
Proceed by entering the url of your shop, and save the address indicated as "Magento Admin Address". This is a random url for accessing the management panel of your shop. Press ‘next’ to continue.
Configure the default currency and time settings of your shop, as shown below, and click on ‘Next.’

Finally, create an administrator account to access the backend of your shop.
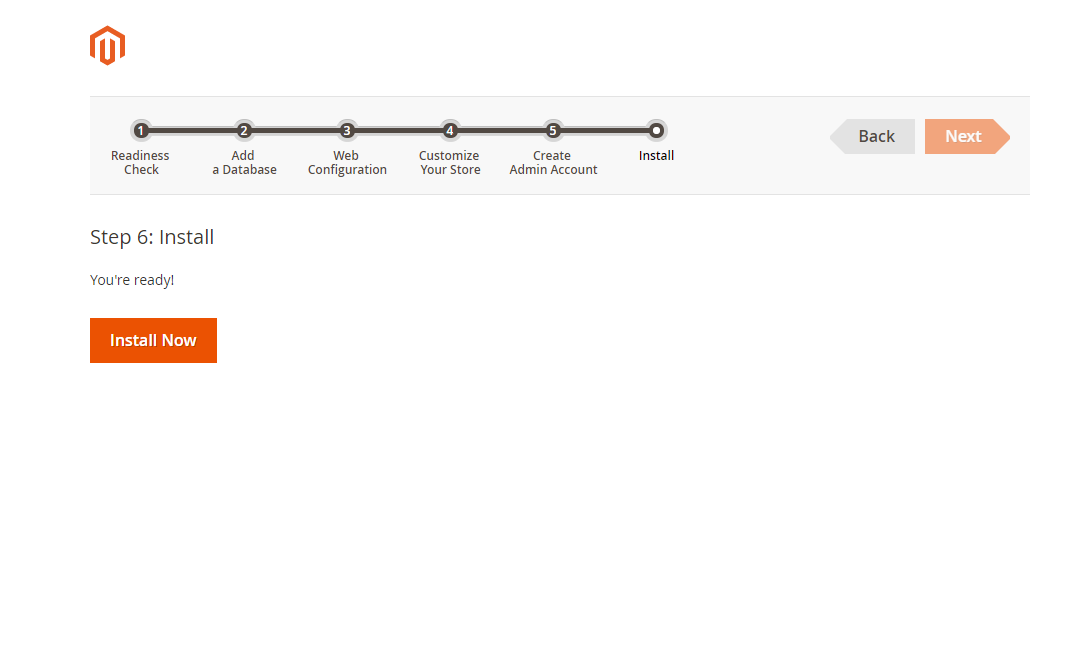
After entering all the data, complete the installation by clicking on the "Install Now" button.
After completing it, your shop will be online at the URL you indicated: to access the management and configuration panel, use the previously auto-generated address, such as:
http://www.mymagentostore.com/admin_1hx9jn