Jelastic Cloud is a cloud solution that combines the PaaS (Platform as a Service) model and the CaaS (Container as a Service) model. Jelastic Cloud is designed to allow DevOps to build complex infrastructures in just a few clicks, by using the web interface of Jelastic.
This tutorial shows all the necessary steps to create a virtual environment with Jelastic Cloud and to configure it to host a PHP application on the NGINX web server.
Creating a new environment
Enter the Jelastic Cloud management panel and then press the "NEW ENVIRONMENT" button located at the top left.

The configuration tab of the new environment will be displayed.
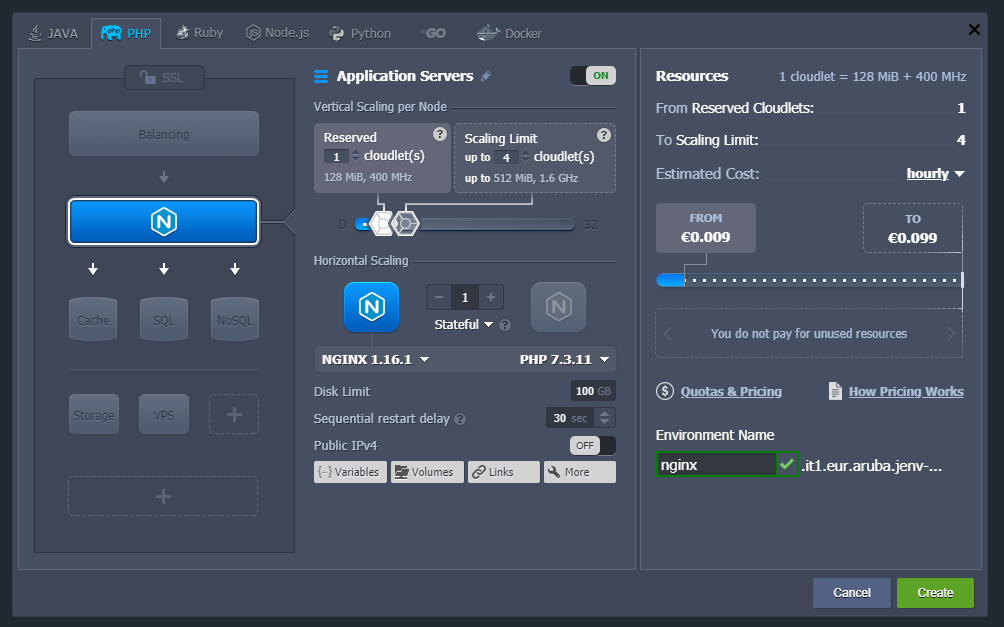
Make sure you select the "PHP" tab, then add NGINX as a web server and PHP. In this tutorial the versions NGINX 1.16.1 and PHP 7.3.11 will be used.
In the "Vertical scaling per node" section, specify the number of Cloudlets to reserve according to the possible use of resources. Then, specify the maximum number of Cloudlets to be used to increase the power of your web server. Cloudlets represent the micro instances on which container technology is based: each Cloudlet has 128 MB of RAM and 400 MHz of vCPU.
By increasing the number of reserved Cloudlets the overall cost of the environment will rise. Consider that reserved Cloudlets are dedicated hardware resources that are always active regardless of the workload. They are also less expensive than dynamic Cloudlets, which, instead, are the maximum resources that can be assigned to the node to manage sudden loads when needed.
Then, enter the disk space limit, enable or disable the public IP address according to your needs, and enter the name of the new environment, here called "nginx".
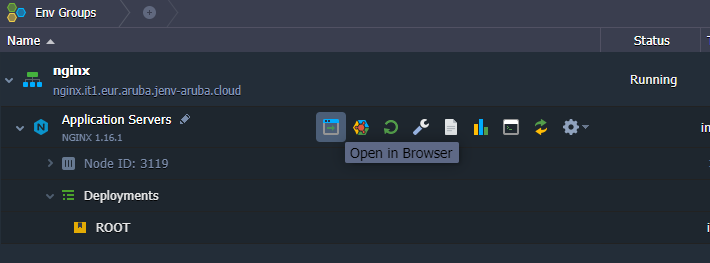
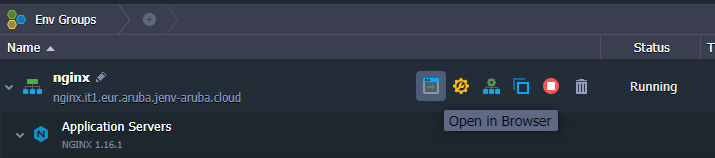
After completing the installation of the Jelastic instance, press the "Open in Browser" button for the newly created instance:
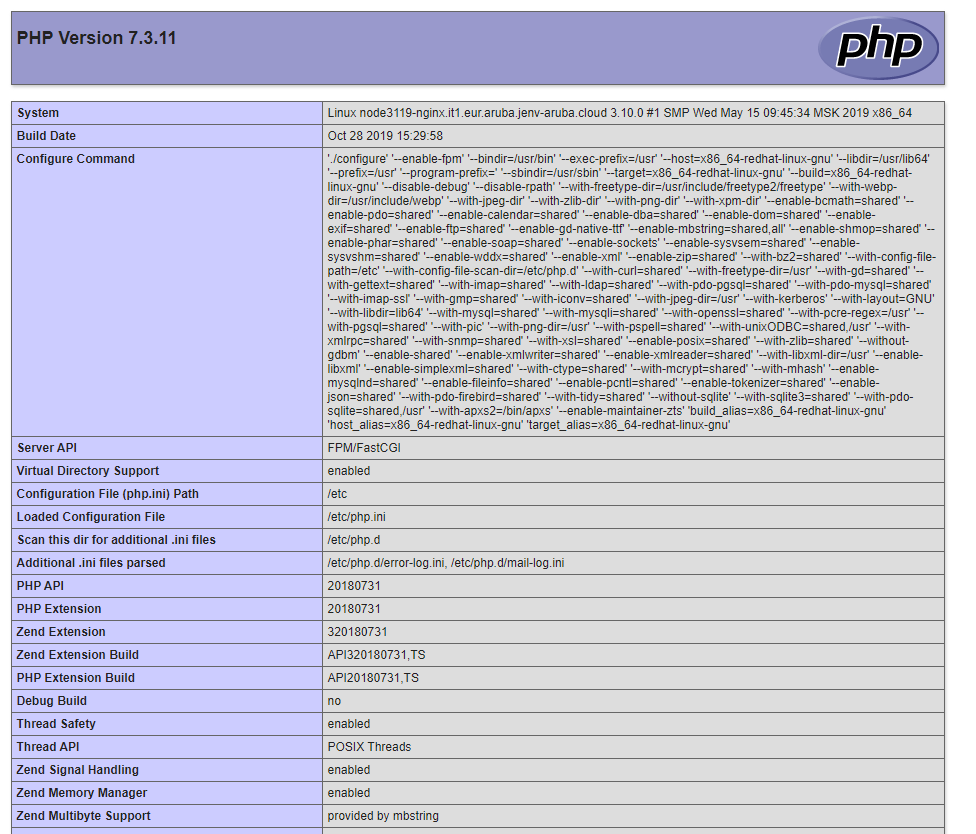
The default page, showing information on the installed version of PHP, will be displayed.
Deploying an application
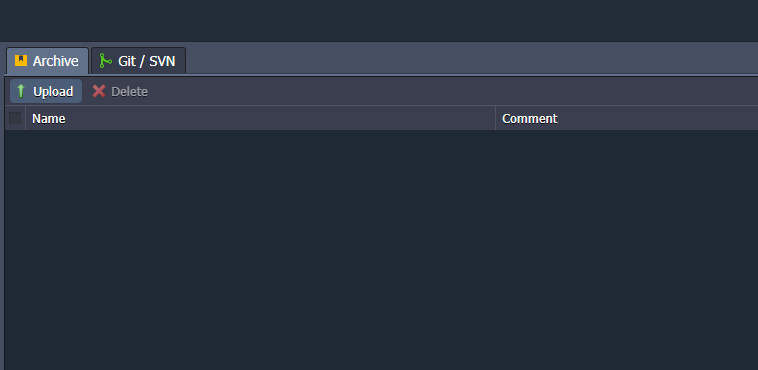
To proceed with the installation of an existing application within the newly created instance, use the Deployment Manager by clicking on the "Upload" button.
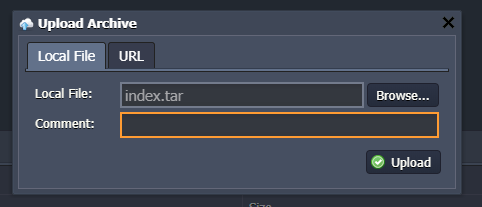
Select the compressed archive with all the sources of your application and confirm the upload.
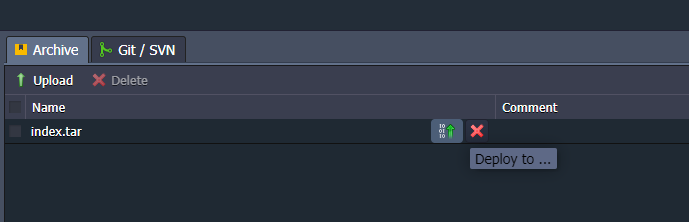
Once the upload is completed, use the "Deploy to" button to deploy the application within your environment.
When the deployment is completed, view the result by clicking on the "Open in Browser" button.