Docker is a software platform that aims at facilitating the deployment of applications, by collecting them in standardized units called ‘containers’. Docker containers are isolated environments to which dedicated computational resources (CPU, RAM, HD) can be assigned and in which applications can be run without the risk of other processes interfering.
With the Jelastic Cloud platform you can take advantage of all the benefits of Docker container technology, by running containerized applications in the cloud, according to the Container as a Service (CaaS) model and by accessing containers quickly and easily through the Jelastic web interface.
In this tutorial you will learn how to use Docker containers to configure the different levels of your virtual environment created with Jelastic Cloud.
Creating a new environment
Enter the Jelastic Cloud management panel and then press the "NEW ENVIRONMENT" button located at the top left.
The new environment configuration tab will open.
Open the "Docker" tab.
Selecting an image
A Docker image for each layer on the left and a container based on it can be created.
Add a container for each section on the left in order to divide the infrastructure according to your needs.
Then, proceed by selecting the desired layer and press the ‘Select Image’ button to select the image.
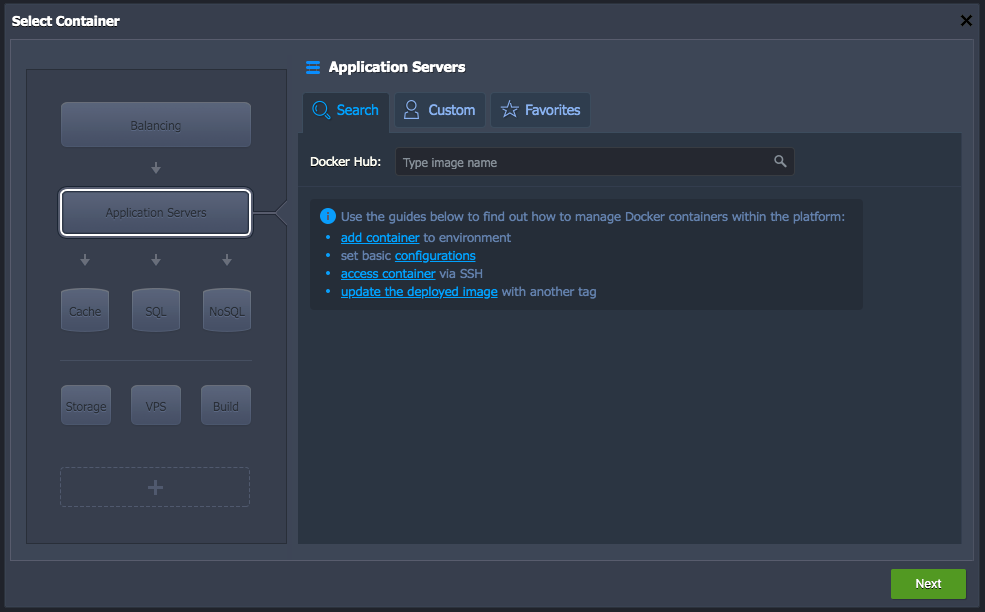
In this section, three tabs will be found:
- Search : Searches for a template in the Docker Hub public registry.
- Custom : add a custom template from a Docker registry.
- Favorites : where you can find the images you added to your favorite ones.
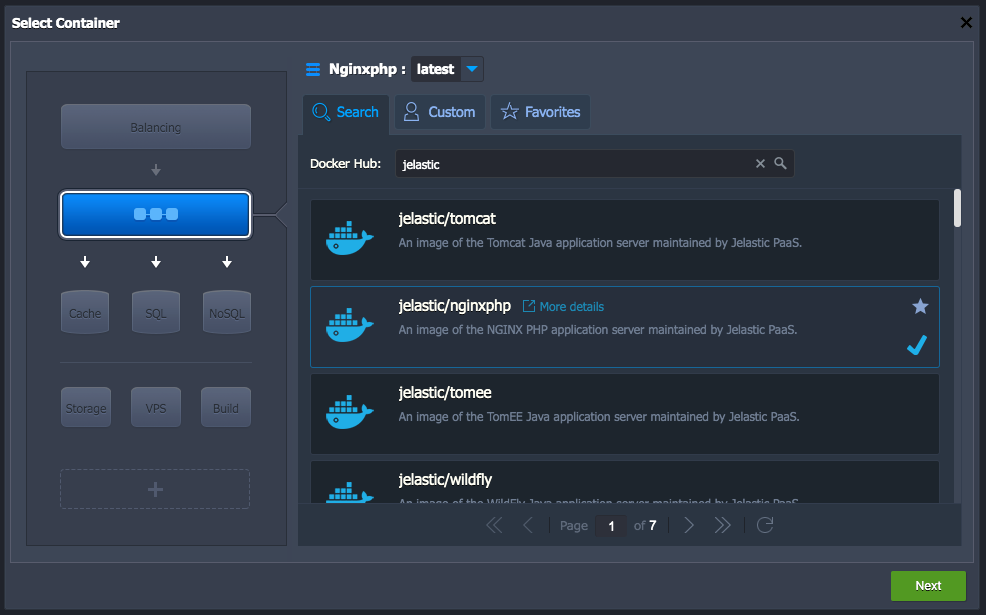
In this case, for example, select the nginxphp image for the layer of the Application Server, and press ‘Next’.
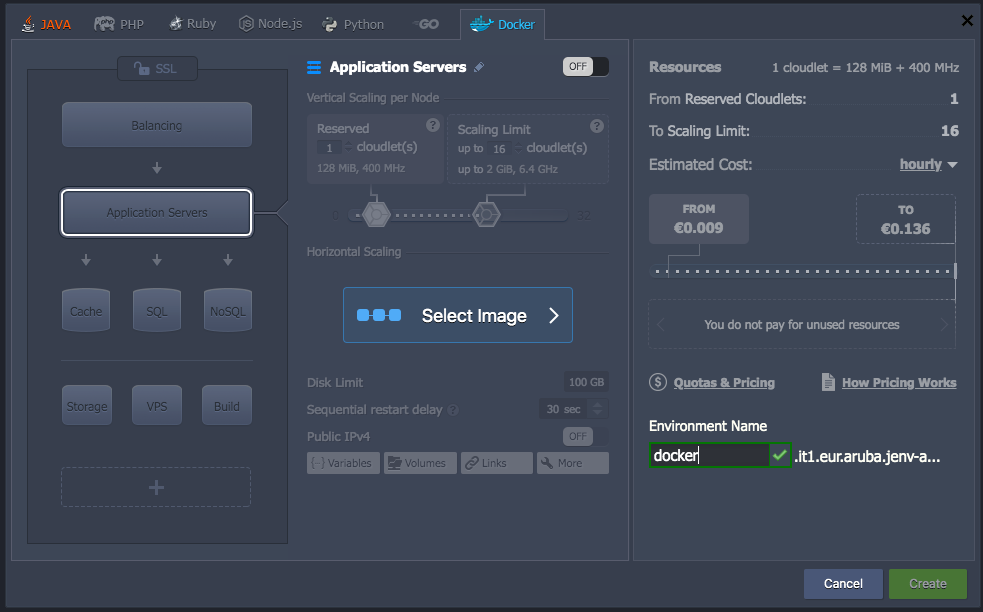
Configuration of the environment
At this point,configure the settings for your environment, such as its name, the number of reserved Cloudlets and the maximum limit of Cloudlets that can be used.
Container technology is precisely based on Cloudlets, the micro instances that can be directly selected inside Jelastic. Each Cloudlet has 128 MB of RAM and 400 MHz of vCPU.
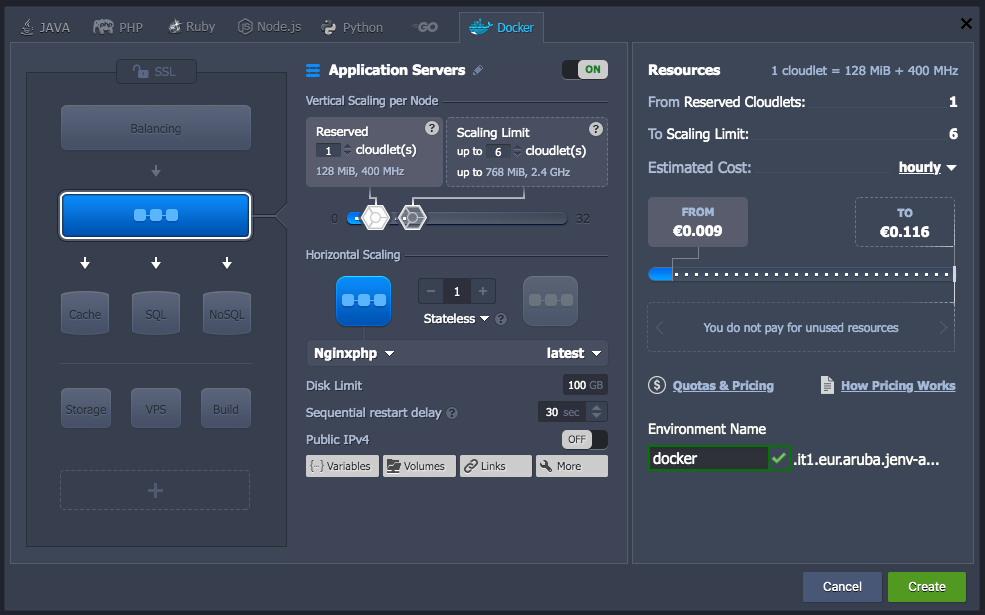
Once the configuration is completed, press the ‘Create’ button to proceed with the creation of the virtual environment.
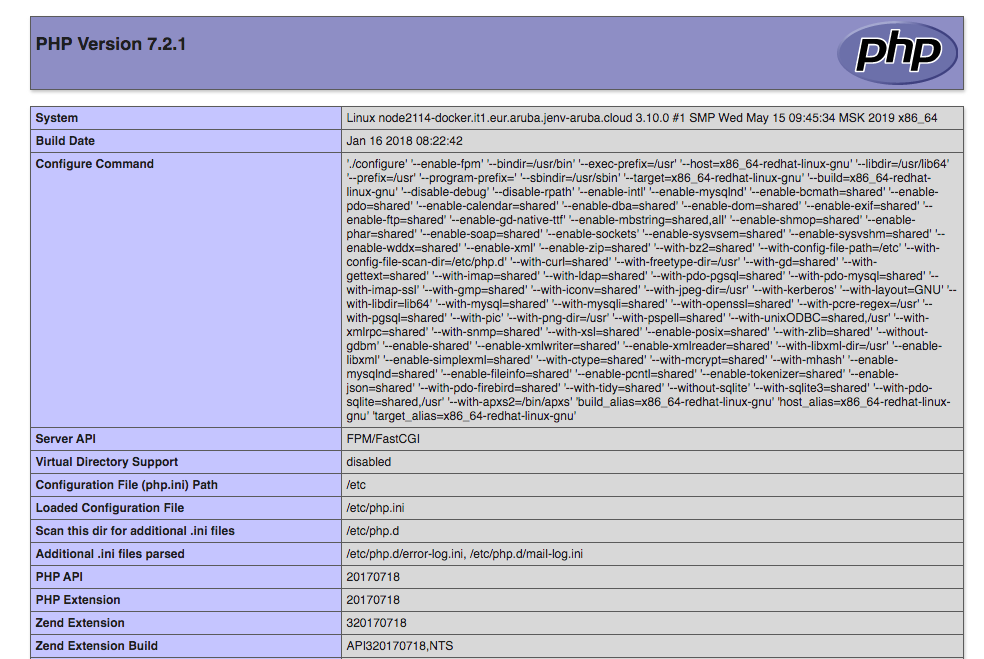
Checking operation
After creating the environment, press the ‘Open in Browser’ button related to the environment you just created to check its correct functioning.

If the environment was correctly configured, the information of the installed PHP version will be shown.