PrestaShop is a CMS widely used to design e-commerce. It is an open-source solution based on PHP and MySQL, purposely designed for the development and management of online stores.
PrestaShop provides numerous themes and plugins, both free and fee-based, which can be added to enhance the user experience of the platform and to expand its functionality.
In order to install PrestaShop, using a web server with a LAMP architecture, i.e. based on Linux, Apache, MySQL and PHP, is necessary. If you don't have it, please follow our guide on How to install and configure a LAMP server on Ubuntu 18.04 first.
To use PrestaShop, install some additional PHP modules using the following command:
sudo apt install php7.2-common php7.2-cli php7.2-fpm php7.2-opcache php7.2-gd php7.2-mysql php7.2-curl php7.2-intl php7.2-xsl php7.2-mbstring php7.2-zip php7.2-bcmath php7.2-soap
PrestaShop: Download and Installation
Start by creating a folder from which to extract the contents of the archive to be download later.
sudo mkdir -p /var/www/prestashop
cd /var/www/
Downloading the latest version of the CMS from the official PrestaShop website is also possible, but to install the 1.7.5.2 version used in this tutorial, download the archive by typing:
sudo wget https://download.prestashop.com/download/releases/prestashop_1.7.5.2.zip
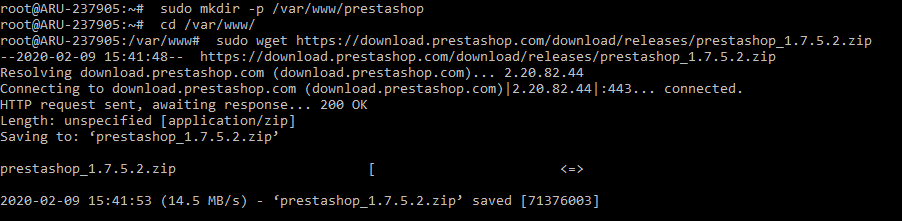
In doing so, an archive (prestashop_1.7.5.2.zip), to be extracted later, is downloaded.
Then, install the software, adding the "unzip" command. This command will then be used to extract the contents of the .zip archive:
sudo apt install unzip -y
Then, extract the contents of the prestashop_1.7.5.2.zip archive in the prestashop folder:
sudo unzip prestashop_1.7.5.2.zip -d prestashop
Go to the prestashop folder:
cd prestashop
Extract the content from the prestashop.zip archive:
sudo unzip prestashop.zip
At this point, allow the web server to have full access to the files:
sudo chown -R www-data. ./
sudo chmod -R 755 ./
Configuring the Virtual Host for PrestaShop
Create the configuration file for the Virtual Host that will host your e-commerce with the following command:
sudo nano /etc/apache2/sites-available/presta.conf
In the open text editor, paste the following code:
     servername www.yourdomain.com
     documentroot /var/www/prestashop/

       allowoverride all
       allow from all
Remember to change "www.yourdomain.com" with the address of your domain.
Now that the configuration file for the Virtual Host is generated, tell it not to use the default file, but the one you created.
Disable the default configuration file:
sudo a2dissite 000-default.conf
Enable the configuration file previously written:
sudo a2ensite presta.conf
sudo a2enmod rewrite
Creating the database structure
To store all your e-commerce data, create a database and specify the users who can access it. Then, access the MySQL Server with the following command:
sudo mysql -u root -p
At this point, enter the password set when installing the MySQL Server.
You are now in the MySQL Server shell. Then type:
create database prestashop_db;
use prestashop_db;
With these two instructions, create a database called "prestashop" and specify that all subsequent instructions should be applied to this database.
Then, create a user that can access it, by typing the following query:
grant all on prestashop_db.* to user@localhost identified by ‘password’;
Change 'user' and 'password' into the username and password you intend to use.
flush privileges;
exit
Then restart the Apache2 service.
sudo systemctl restart apache2
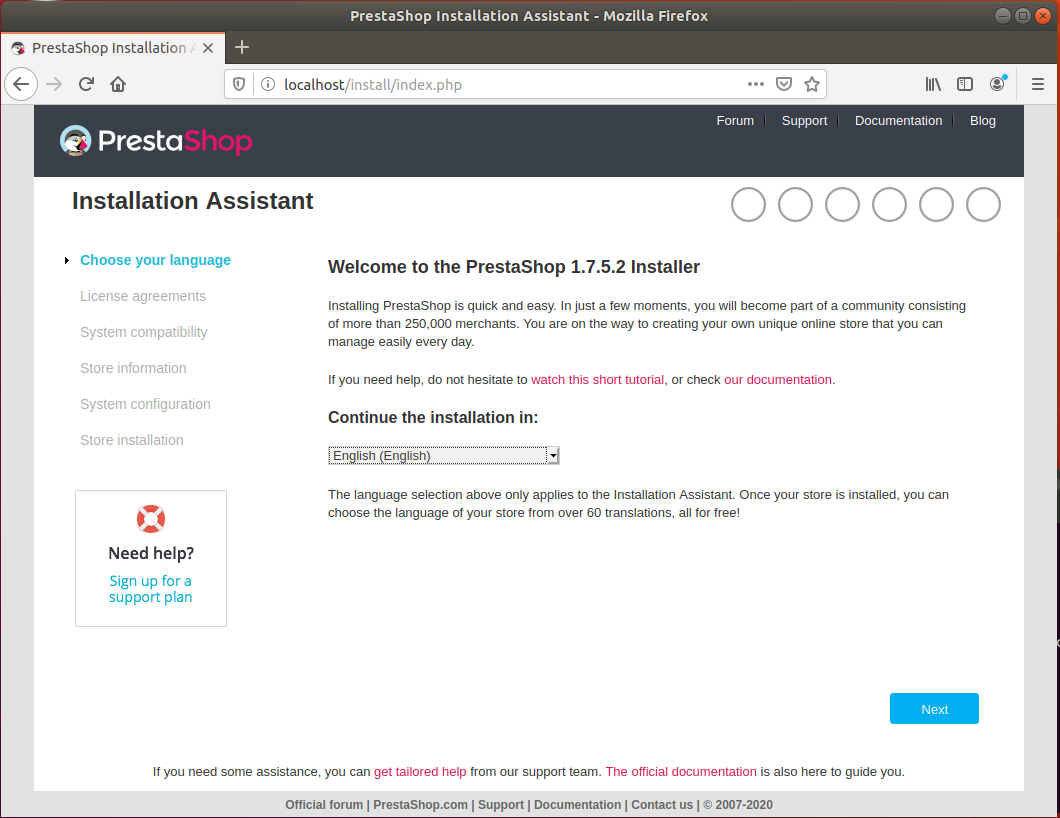
Open the browser and go to the domain of the configuration file (in this case, 'localhost'). Then, select the desired language and click on Next.
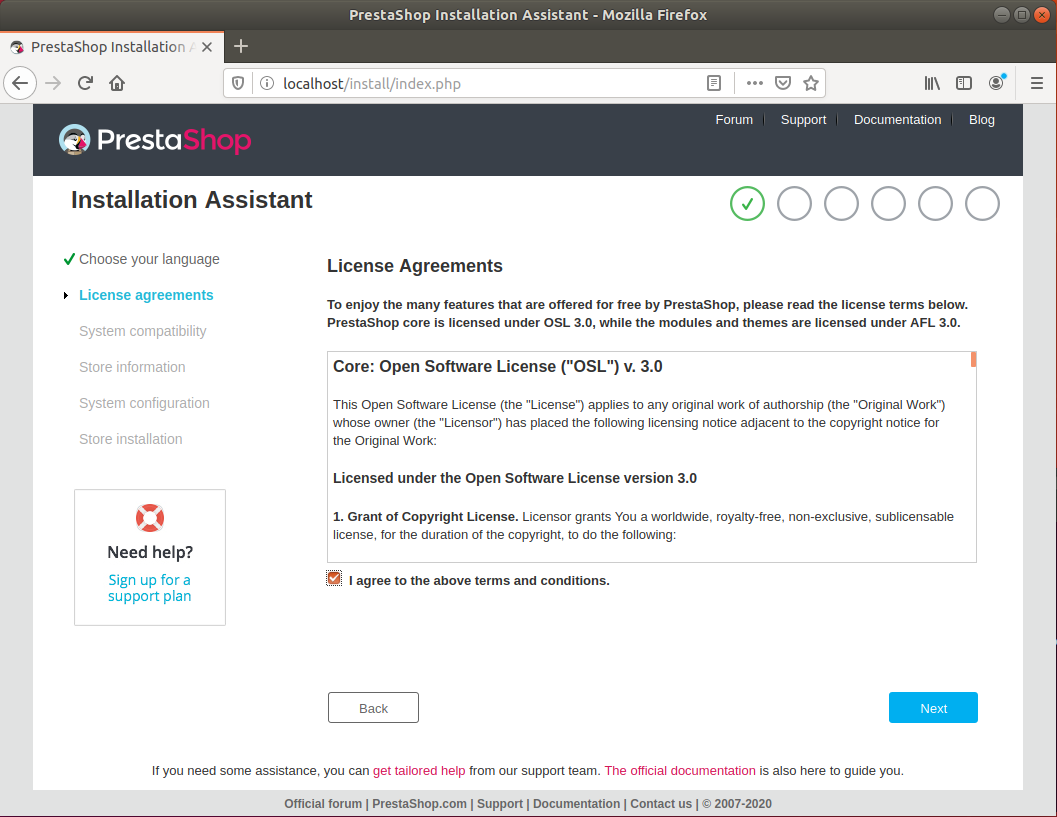
Accept the terms of conditions and click Next.
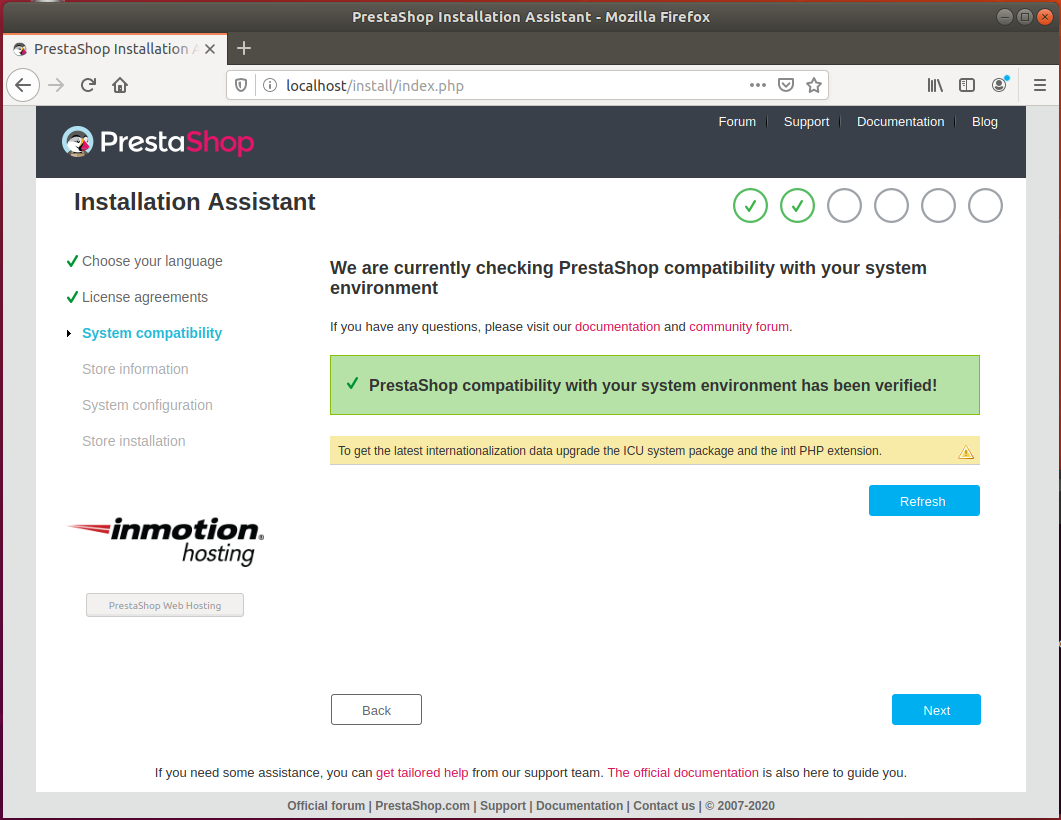
If a screen similar to the one of the screenshot below is shown, everything was set up correctly. Then, click on ’Next.’
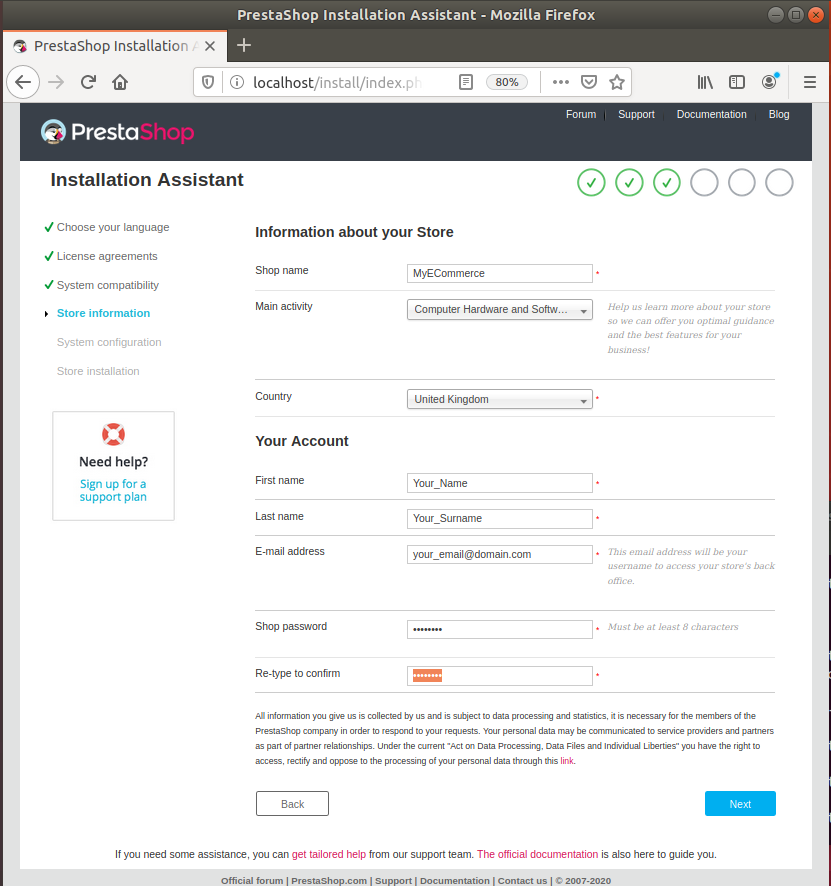
Now, the name of your online store, e-commerce category of reference and the country which it belongs to can be set.
As for your account data, you are registering as an admin user with all privileges. Then, enter a strong password, possibly with uppercases, lowercases, numbers and symbols. Finally, click on ‘Next’ to end this step.
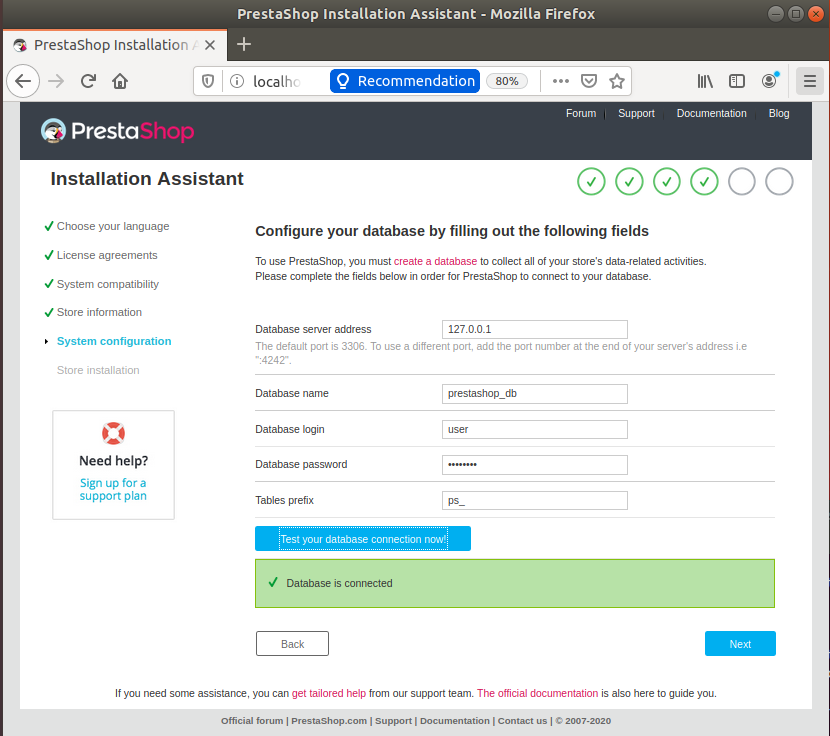
Specify here the database connection parameters.
"Database login" and "Database password" are what you set when you ran the "grant all on ..." query
Once the data are entered, test the connection with the database. If the green box is shown, as in the screenshot, the connection was made and it is now possible to go to the next step. Then, click on ‘Next.’
At the end of the installation of PrestaShop, removing the installation folder from the root for security reasons is recommended.
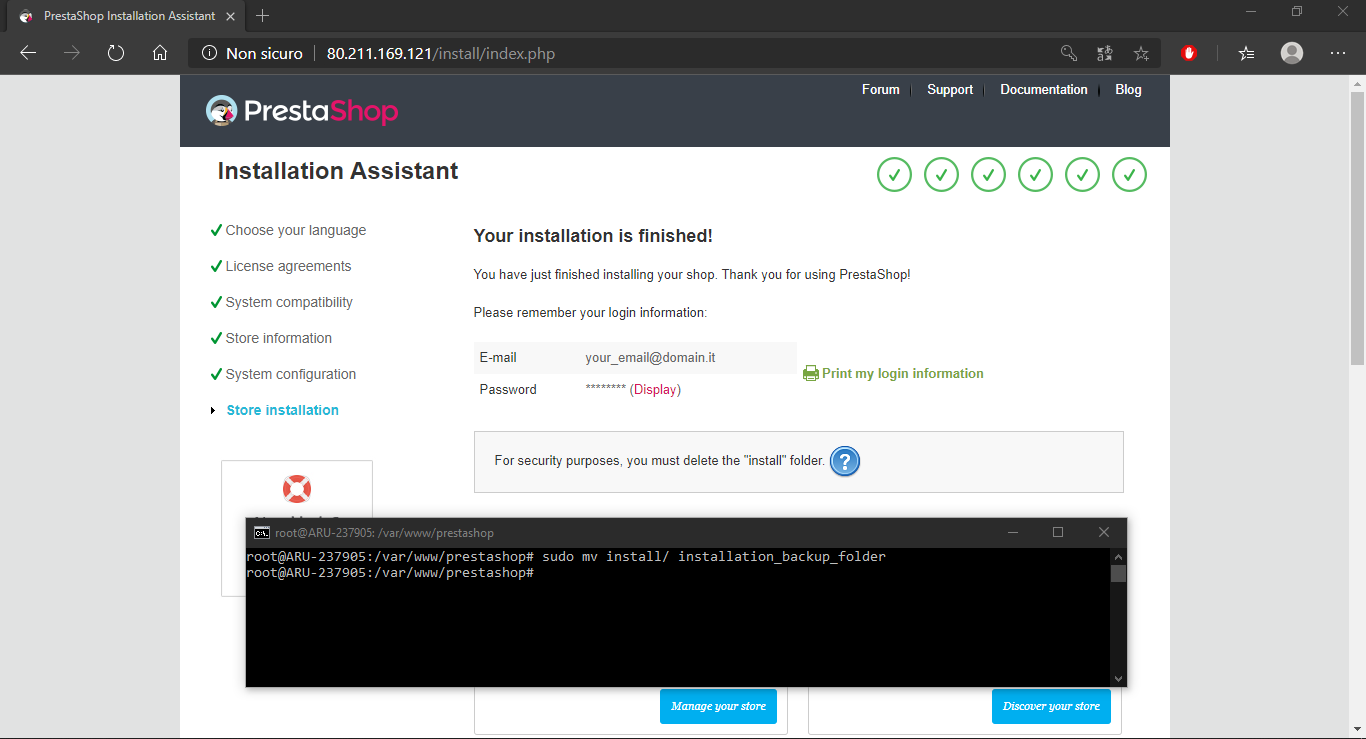
Rather than deleting the installation folder, move it to another inaccessible directory (here called "installation_folder") so that it can be reused in case of a new installation.
sudo mv install/ your_backup_folder
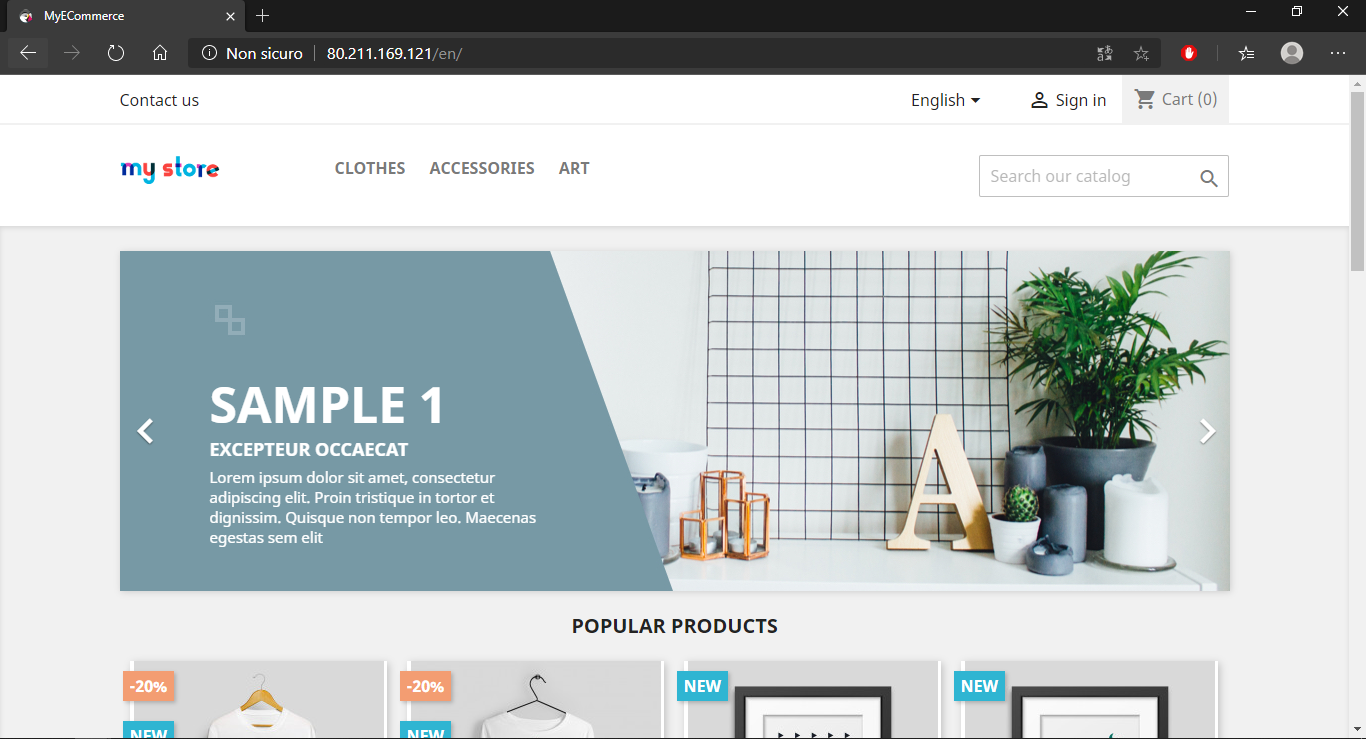
Update your browser page now and you will see your e-commerce active and ready to be used!