A VPN is a Virtual Private Network that allows you to access the Internet or certain services even from an untrusted network. Basically it is as if you were physically connected to a private network: for example, you can access your bank account or make payments without fearing that someone is intercepting the traffic generated by your device.
OpenVPN is a VPN based on TLS / SSL protocols (Transport Layer Security / Secure Sockets Layer): it uses certificates to encrypt the traffic between the server and the client.
In this tutorial you will see how to connect to an OpenVPN network from Windows, macOS, iOS and Android system. Instead, in case you need to create a VPN first, then, following our guide How to set up and configure a VPN with OpenVPN on Ubuntu 18.04 is recommended.
Configuration of Windows Client
Download the version for your Operating System from https://openvpn.net/community-downloads/ and run it as Administrator.
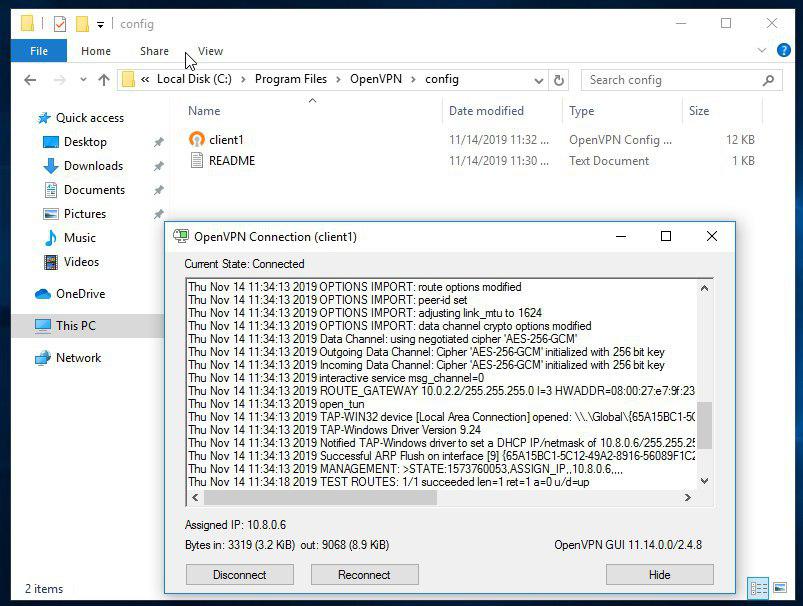
Copy the .ovpn file to the C:\Program Files\OpenVPN\config folder.
.jpg.aspx;)
Always start the program as an Administrator. To avoid repeating this operation , select the shortcut icon, Right click -> Properties -> Compatibility -> Select the item "Start this program as an administrator".
.jpg.aspx;)
Start the program, click on the OpenVPN applet icon on the toolbar and select the .ovpn file and click on Connect.

To disconnect, repeat the last operation.
Configuration of MacOS Client
Download the version for your Operating System from https://tunnelblick.net/downloads.html and install it.
At the end of the installation process click on "I have the configuration files". Then, select with Finder the file "file" .ovpn to install the user profile in the program.
Open Tunnelblock (after opening it you will find an icon at the top right of the screen: click on it) and click on "connect file".
Configuration of Linux Client
Install the OpenVPN Client.
Debian / Ubuntu
$ sudo apt update && sudo apt install openvpn
Centos
$ sudo yum install epel-release
$ sudo yum install openvpn
Check files in openvpn folder:
$ ls /etc/openvpn
The output shown has to be the following: update-resolv-conf.
$ nano file.ovpn
If the output shown was like the one above, remove the following 3 instructions:
script-security 2

up /etc/openvpn/update-resolv-conf

down /etc/openvpn/update-resolv-conf
Save and start the connection.
$ sudo openvpn --config file.ovpn
Configuration of iOS Client
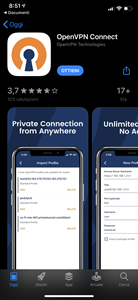
Install the Client from the App Store https://itunes.apple.com/us/app/id590379981

Open iTunes, select iPhone -> apps -> File Sharing and drag the .ovpn file onto the window shown.

Once the application is open, the detection of the profile will be notified. Press ‘+’ to add it automatically.

Tap the appropriate button to start the connection. To disable it, tap the same button again.


Configuration of Android Client
Install the OpenVPN client from https://play.google.com/store/apps/details?id=net.openvpn.openvpn
Transfer the .ovpn file to the device.
Click on the menu (3 dots at the top right) and select "Import".
Navigate and find the folder where you put the file, then select it.

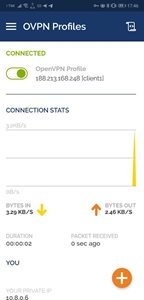
Press the "Connect" button and authorize the application by marking it as "trusted".

To disable, click on "Disconnect".